Nestled amongst the fjords of northern Norway, well above the Arctic Circle, sits the small town of Tromsø. This small town has a big reputation for being the best place in the world to see the Northern Lights. That’s because it’s located below the center of the Northern Lights Oval. This region is where the geomagnetic storms that create the Northern Lights typically occur.
If you’re hoping to see the northern lights, getting to Tromsø is a great place to start. However, seeing the Northern Lights isn’t as easy as you might think. Don’t expect to just walk outside your hotel room at 10 PM and be swept up in color. (That’s not impossible, but it is unlikely.) The best way to see the Northern Lights in Tromsø is to take a guided tour.

The guides in the area are experts at analyzing weather, solar and magnetic patterns to help maximize your chances of seeing the lights. They will get you away from the city lights and do their best to find a viewing spot with clear skies and active aurora. A tour will also often provide some creature comforts like warm beverages, food, a campfire, story telling, and/or photography assistance.
In this post, we’ll explain what it’s like to go on a Northern Lights chase with a tour group from Tromsø. We’ll share the details of the exact tour we took, but also go over the general experience that you can expect from most tours. This is a practical guide intended to share the real-life experience. So while we touch on the highlight reel, we’ll also share some of the less glamorous parts of the experience that might be left out of the caption of that Instagram photo.
Keep reading to learn what it’s like to chase the Northern Lights on a guided tour from Tromsø.
P.S. If you’re also looking for ways to fill your days in Tromsø, be sure to check out this list of 10 Things to do Tromsø When You’re NOT Chasing the Northern Lights.
Tips for Choosing A Northern Lights Tour
Let’s start by booking a tour. There are so many options for Northern Lights Tours in Tromsø. Generally speaking, these tours fall into two categories: Northern Lights chase and Northern Lights experience. Let me explain.
Most Northern Lights chase tours share a similar structure: Meet your group, follow the weather/solar patterns to the best viewing spot they can find, sit/eat/wait, hopefully see the Northern Lights, drive back. If you want your best chance to see the Northern Lights, this is the tour you want to choose.
This is different than Northern Lights experiences, which feature a specific activity where there’s a chance that you will see the Northern Lights while you’re doing it. This includes things like boat rides, reindeer feedings, kayaking or snowmobiling. These types of tours usually involve going to a specific location. If there happens to be Northern Lights above that location, you’ll see them, but they won’t go driving around looking for them.
For the sake of this post, we will be focusing on the basic Northern Lights chase tours. While most of these tours are very similar, there are a few things to keep in mind when choosing your tour.
- Vehicle type/Group Size: Prioritize a small-group tour for the most flexible experience. A minibus or Sprinter van can go to a lot more places than a giant tour bus. You’re more likely to find a secluded spot in an ideal location if you’re part of a small group. If you’re prone to motion sickness, you might want to choose wisely what type of vehicle you want to ride in for 2 to 5 hours in a night.
- Route/Flexibility: Choose a tour that specifically mentions a flexible schedule, not one that lists a specific location or destination. Prioritize a tour with guides that will analyze weather and solar patterns to find the best possible location, including an option to drive into nearby Finland if needed.
- Food & Drinks: Different tours offer different food and drink options. It’s a long and cold night, so choosing a tour that includes warm beverages and some sort of food is a nice touch. That said, avoid fancy meals or dinners, in favor of campfire foods like sausages.
- Gear: You will spend a lot of time outdoors waiting for and/or watching the Northern Lights. Choose a tour that has thermal suits and snow boots available during the tour if needed.
- Duration: The longer, the better! The tour might not last the whole time, but a longer tour means they have the flexibility to drive further in search of lights in needed. Target a tour that is at least 6 hours, instead of 3 or 4.
- Hotel drop-off: Most tours start at a specific meeting point in central Tromsø, which is fine for an early evening start. However, when you get back into town at 2 AM, you want to be dropped off right at your hotel door. Choose a tour that includes hotel drop-off after the tour.
- Photography: Many tour guides double as professional photographers. Some tours will include photographs from the night (including portraits), photography assistance, and/or tripods.
- Ratings & Reviews: This one goes without saying — choose a tour that is highly rated, ideally with lots of reviews. Scan the reviews, too — specifically the negative ones. If the bad reviews are just complaints about not seeing the lights, you can probably ignore those. However, if the bad reviews mention things like a misleading experience, unsafe drivers, poor gear quality, unknowledgeable guide, etc, then you might want to pick a different tour.
You can book Northern Lights tours directly through different agencies, but one of the easiest places to start your search for Northern Lights tours in Tromsø is on Get Your Guide. You can view a variety of different tours from different providers, including ratings and reviews from thousands of travelers, all in once place.
I personally went on this Northern Lights Tour with Northern Horizon. While I would absolutely rate this specific tour 5 stars and highly recommend it, I’m not trying to sell you on this specific tour. This article is based on my personal experience with this tour provider, but the intent of this post is to provide a more broad, general and realistic example of what a Northern Lights chase experience is like.
Note: The above Get Your Guide links are affiliate links. If you click one of my links and make a booking during a certain period of time, I may make a small commission from Get Your Guide, at no cost to you.
The Journey Begins
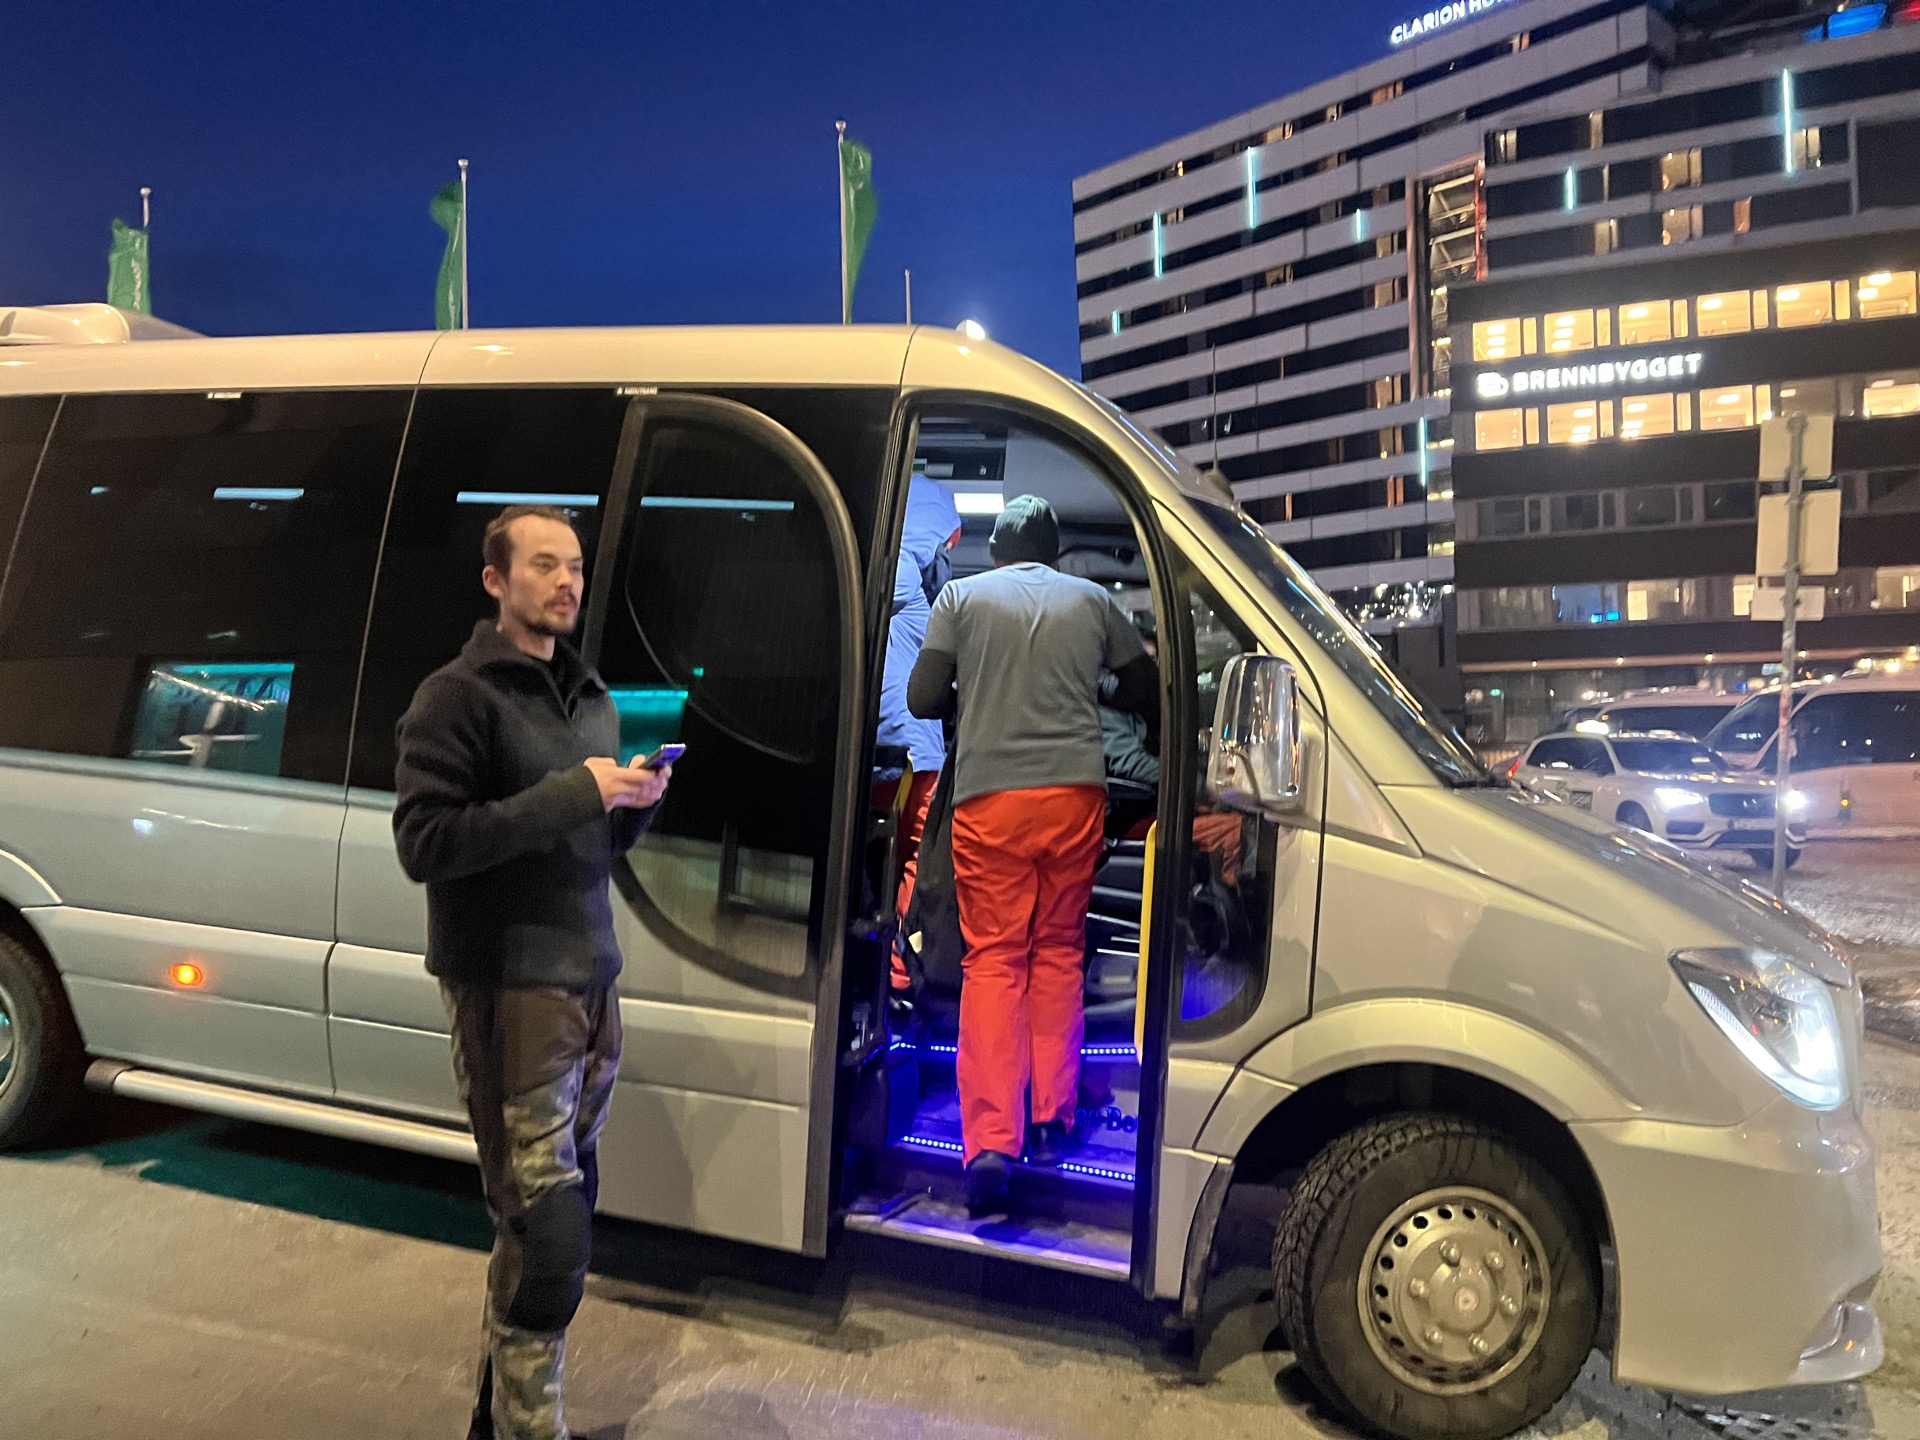
Most Northern Lights group tours begin at a meeting point in Tromsø. If you walk around central Tromsø in the early evening, you’ll see the streets are lined with buses and vans as people scurry about to meet up with their groups. The energy around town is electric, with a shared sense of excitement and optimism.
The tour provider will confirm exactly when and where to meet. My tour met at 5:30 PM, but some groups left earlier or later. An early tour departure is best in most cases. That way you have plenty of time to drive further away, if necessary, to find a good viewing opportunity.
As a parent in my mid-30s, I was tired before the tour even started. If you can relate, I’d highly recommend grabbing a coffee before your tour starts. However, you should be advised that it might be a while before you have a chance to use the bathroom. (And when you do, it will most likely be squatting somewhere in the frozen wilderness.)
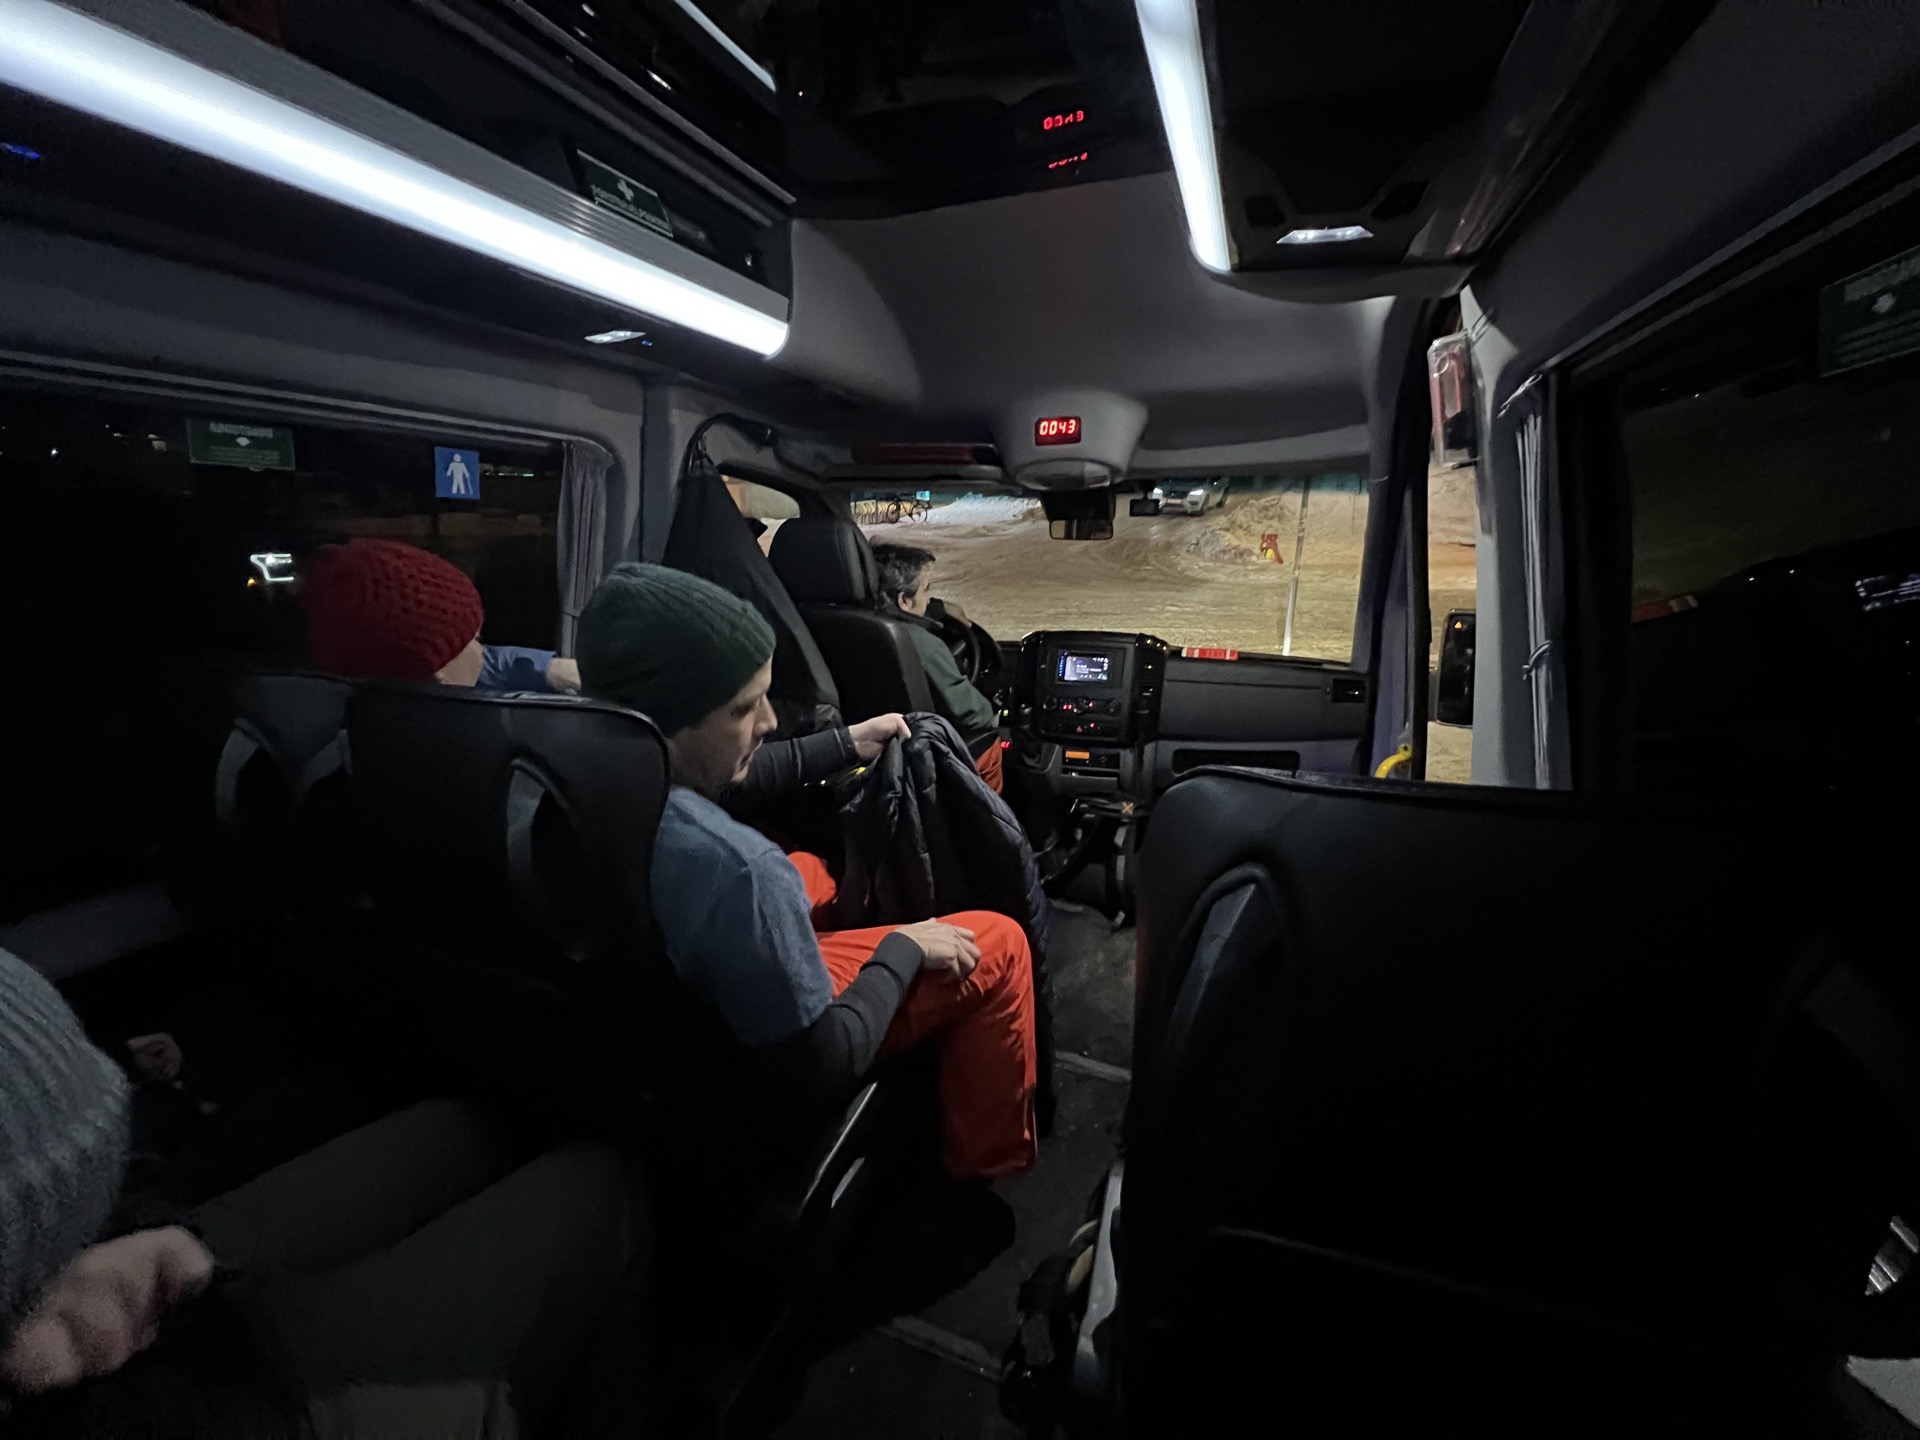
Once you meet up with your tour group, they will assign you a vehicle. In our case, our tour provider had three guides and three different Sprinter vans. Once your group has loaded up, it’s time to set off.
Drive, Drive, Drive
The next step in the Northern Lights chase is to drive to a viewing spot — or sometimes spots depending on the weather.
The exact travel time will vary. At minimum, you’ll drive far enough to escape the light pollution from central Tromsø, which is at least an hour. Beyond that, it will depend on the weather and solar indicators. (Solar maps? Magnetic radar? Whatever magical sorcery they use to forecast the lights. I don’t know, I’m not a scientist.)
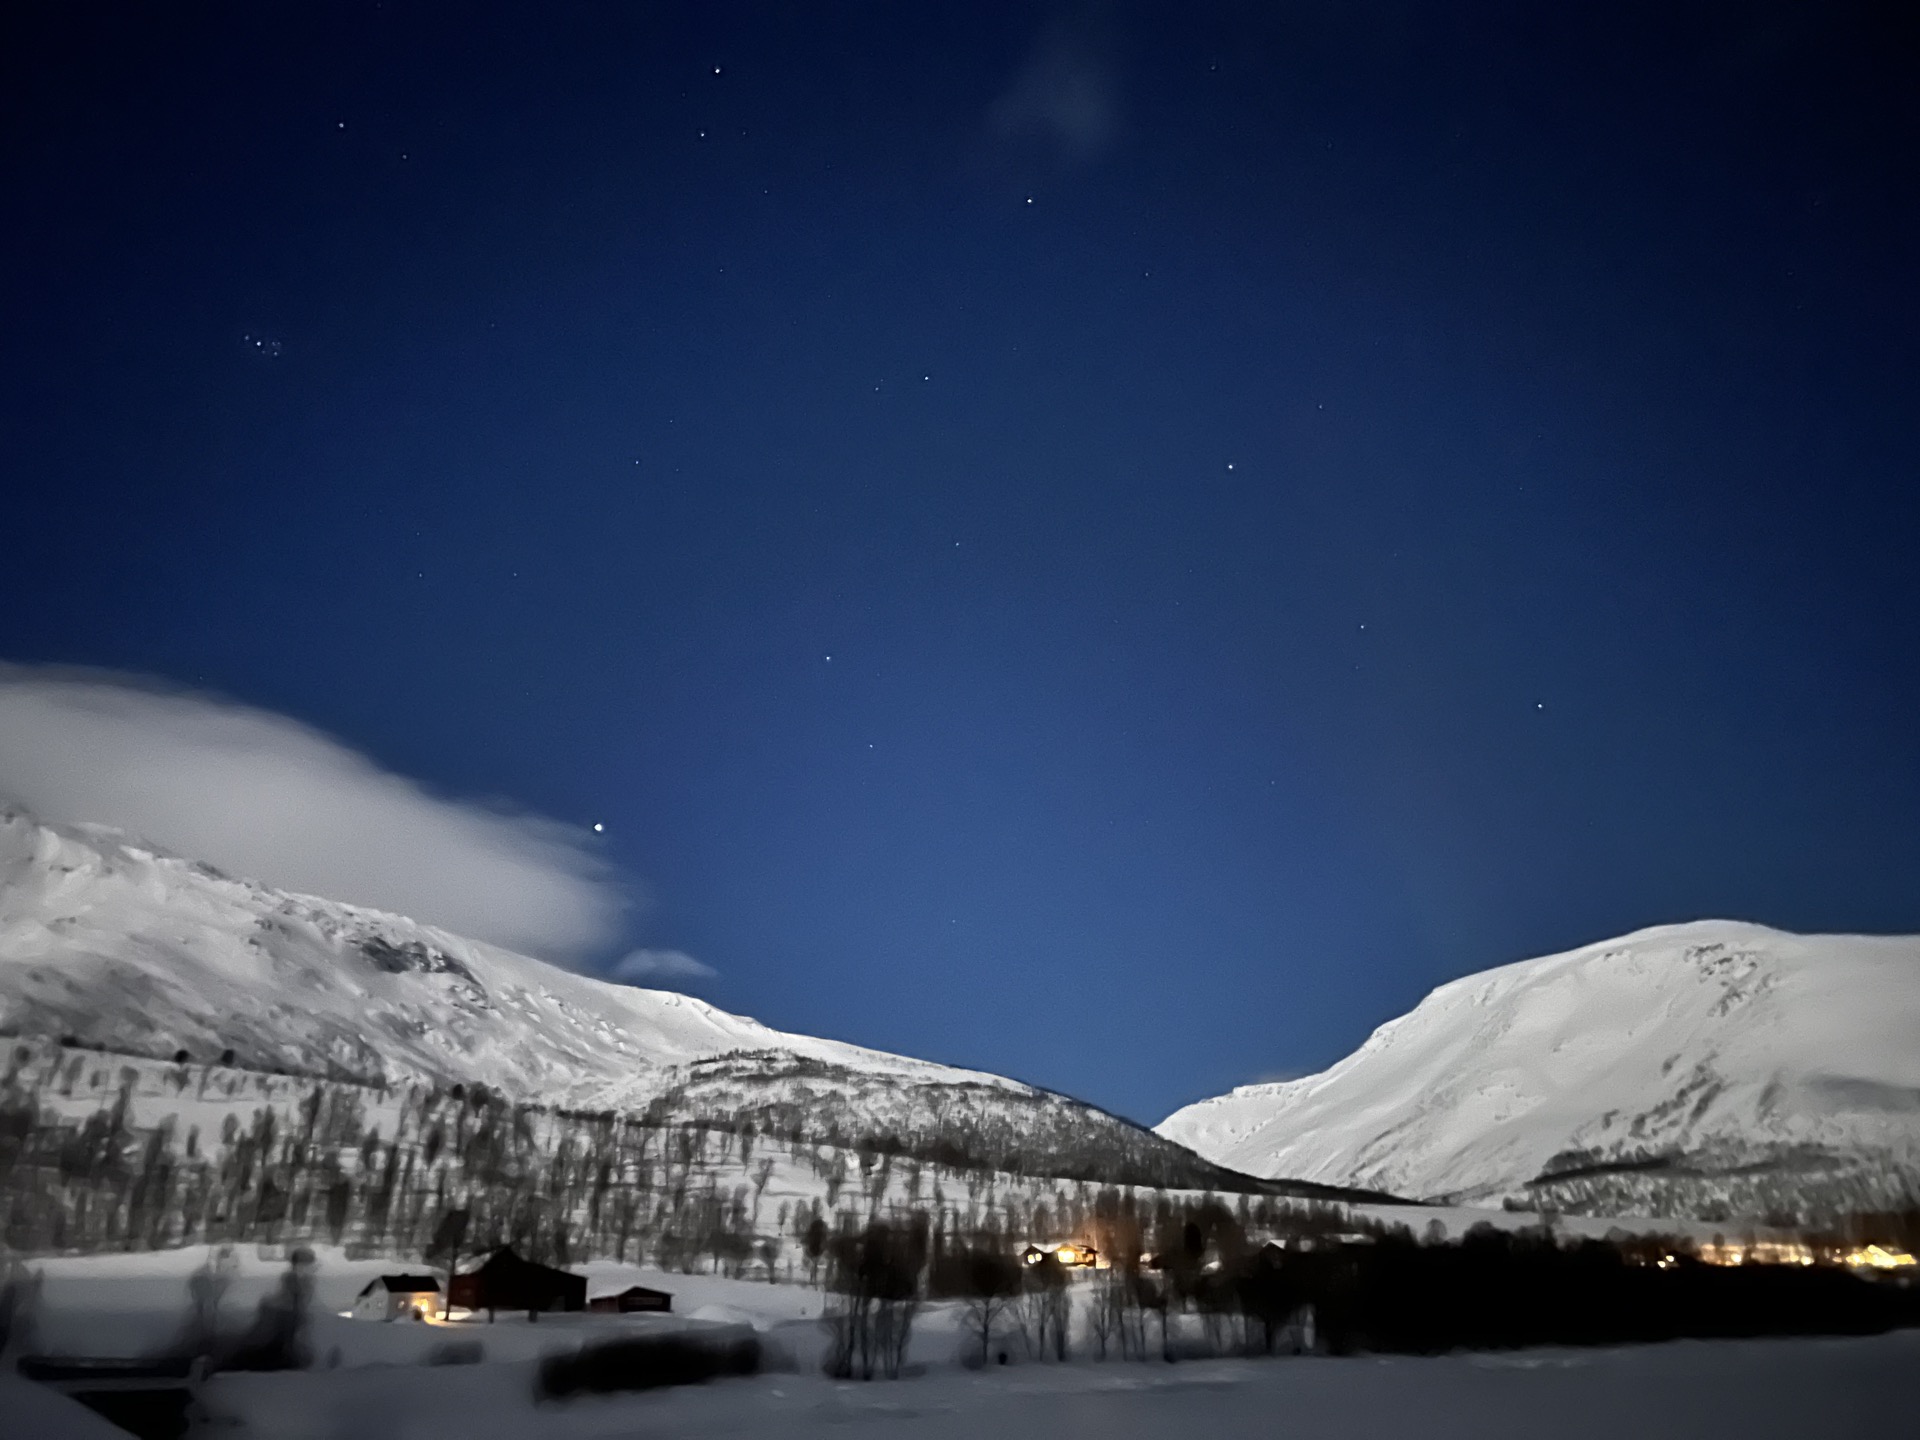
The guides are trained to track these patterns and projections, and then match that with their knowledge of locations in the area that are suitable to take the group. Personally, I got pretty lucky and the skies were clear just outside of Tromsø, so we didn’t have to travel that far. However, it’s not uncommon to have to drive 2-3 hours to find clear skies and geomagnetic activity.
The roads in the area aren’t terrible, but you’re also not taking a highway the entire time. The ride will also depend on your exact route and the type of vehicle you’re in. If you’re prone to motion sickness, it’s a good idea to bring some anti-nausea medicine, just to be safe.
Set Up Camp
Once you find your viewing spot, it’s time to get comfortable.
If your tour includes thermal suits and boots, now is the time to bundle up. You’re going to be outside for a while, so there’s no need to be a hero. Take the gear if it’s even remotely cold.
The exact viewing locations will vary greatly. Some people end up along the water, others in the middle of the woods. In either case, most tour groups don’t stop at a developed facility with things like chairs or bathrooms. The viewing areas are usually just a clearing in the snow on the side of a road.
This is also where the specific type of tour you chose will impact your experience. If you are part of a big group, there are usually only certain spots that they can stop at. If you’re part of a smaller group, you can pull off and set up camp in a lot more places. You might also stop in a few different places throughout the night.
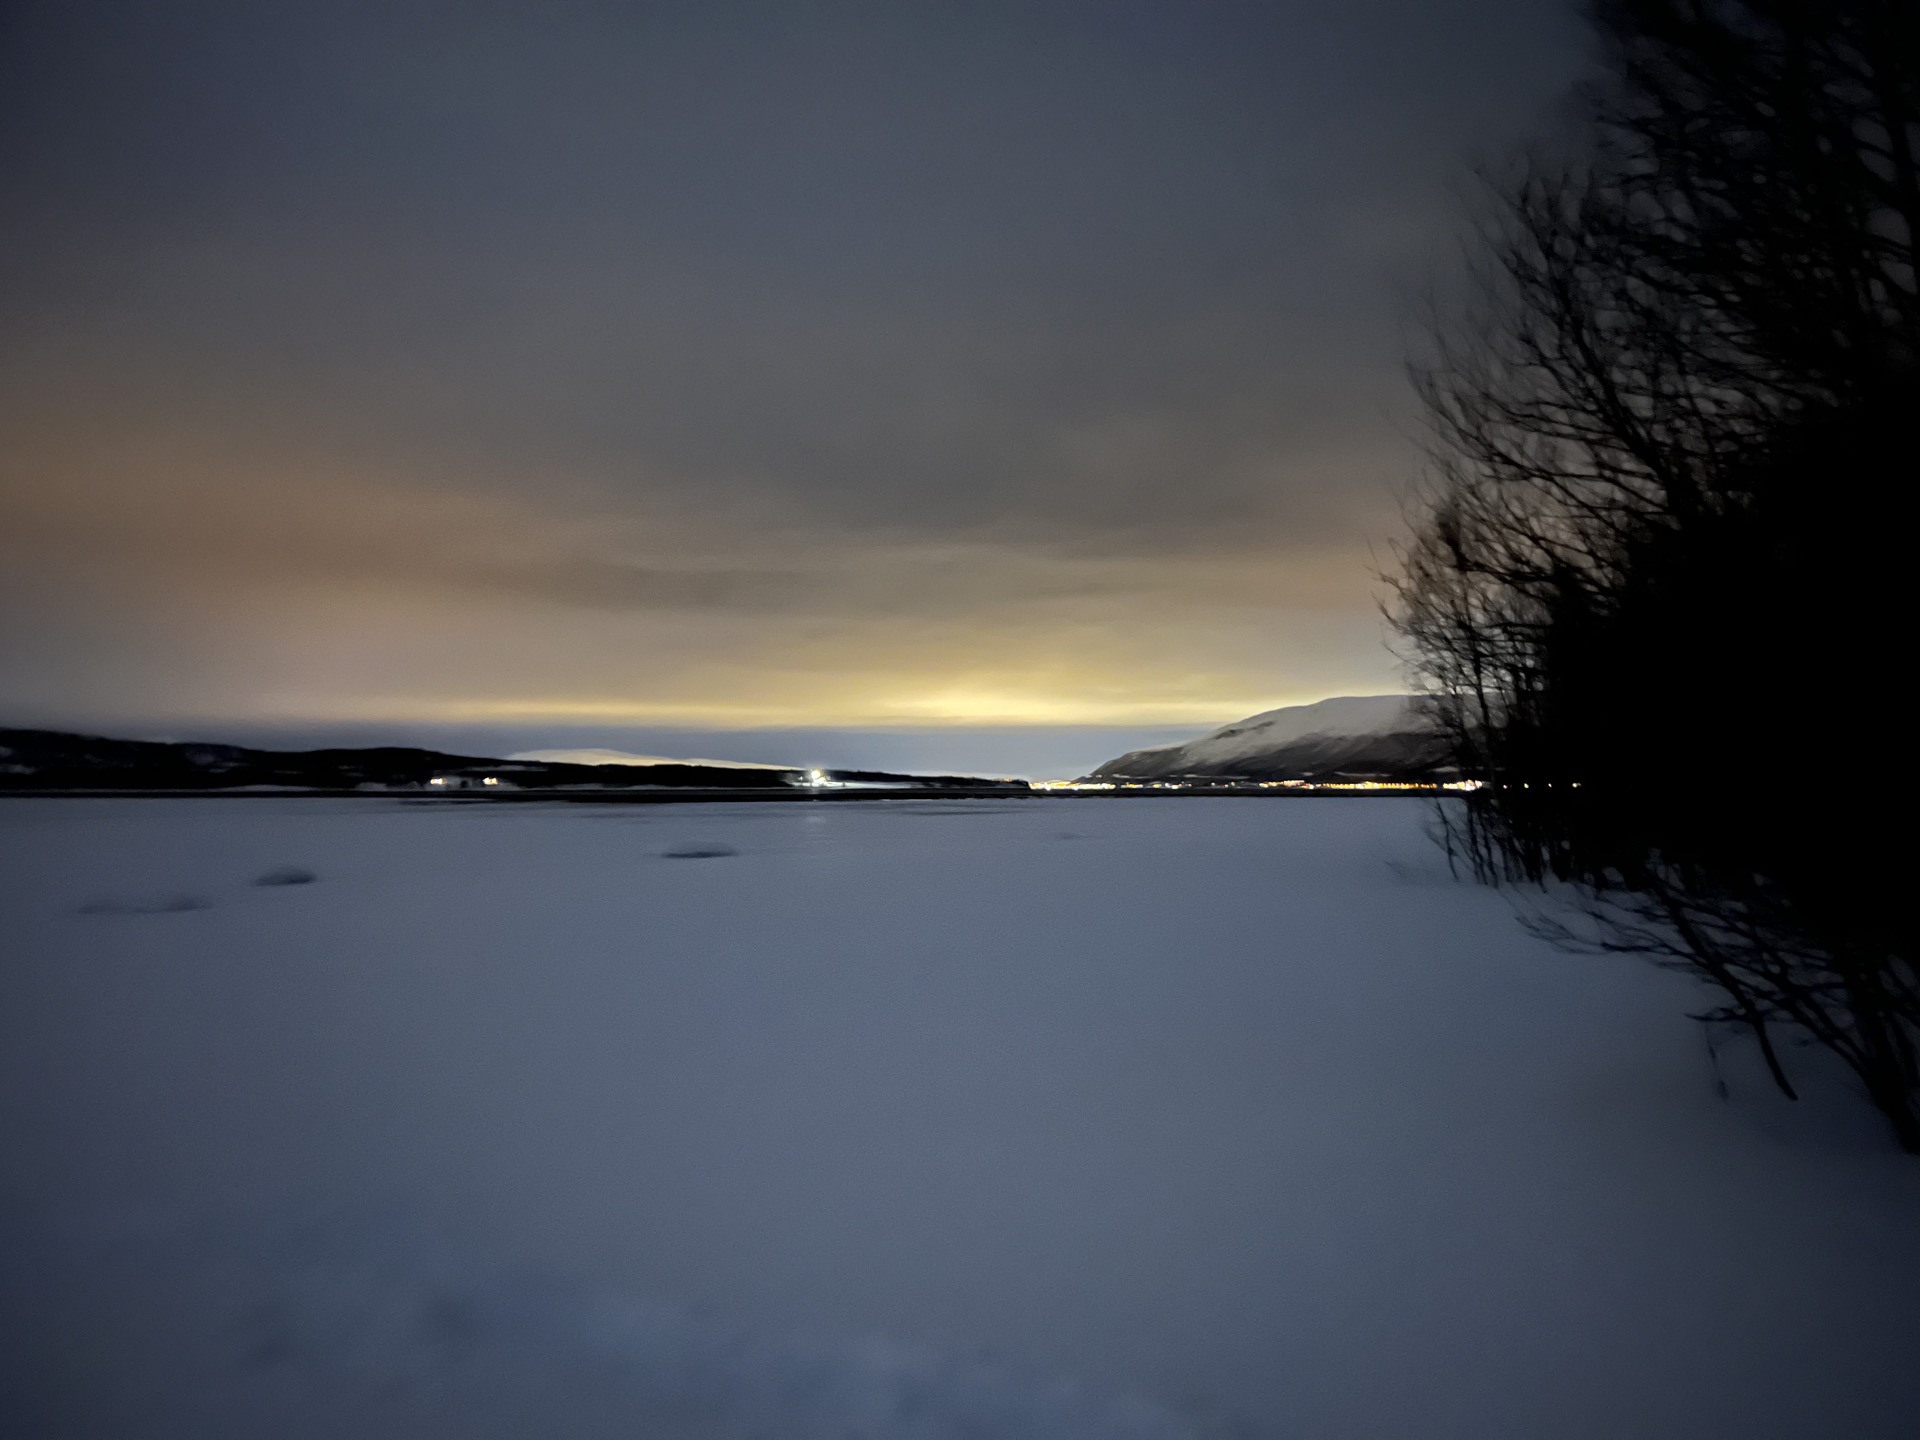
On my tour, we pulled over on the side of a country road by a lake. We piled out of the van and trudged through two feet of snow to a clearing in the trees. That was our spot.
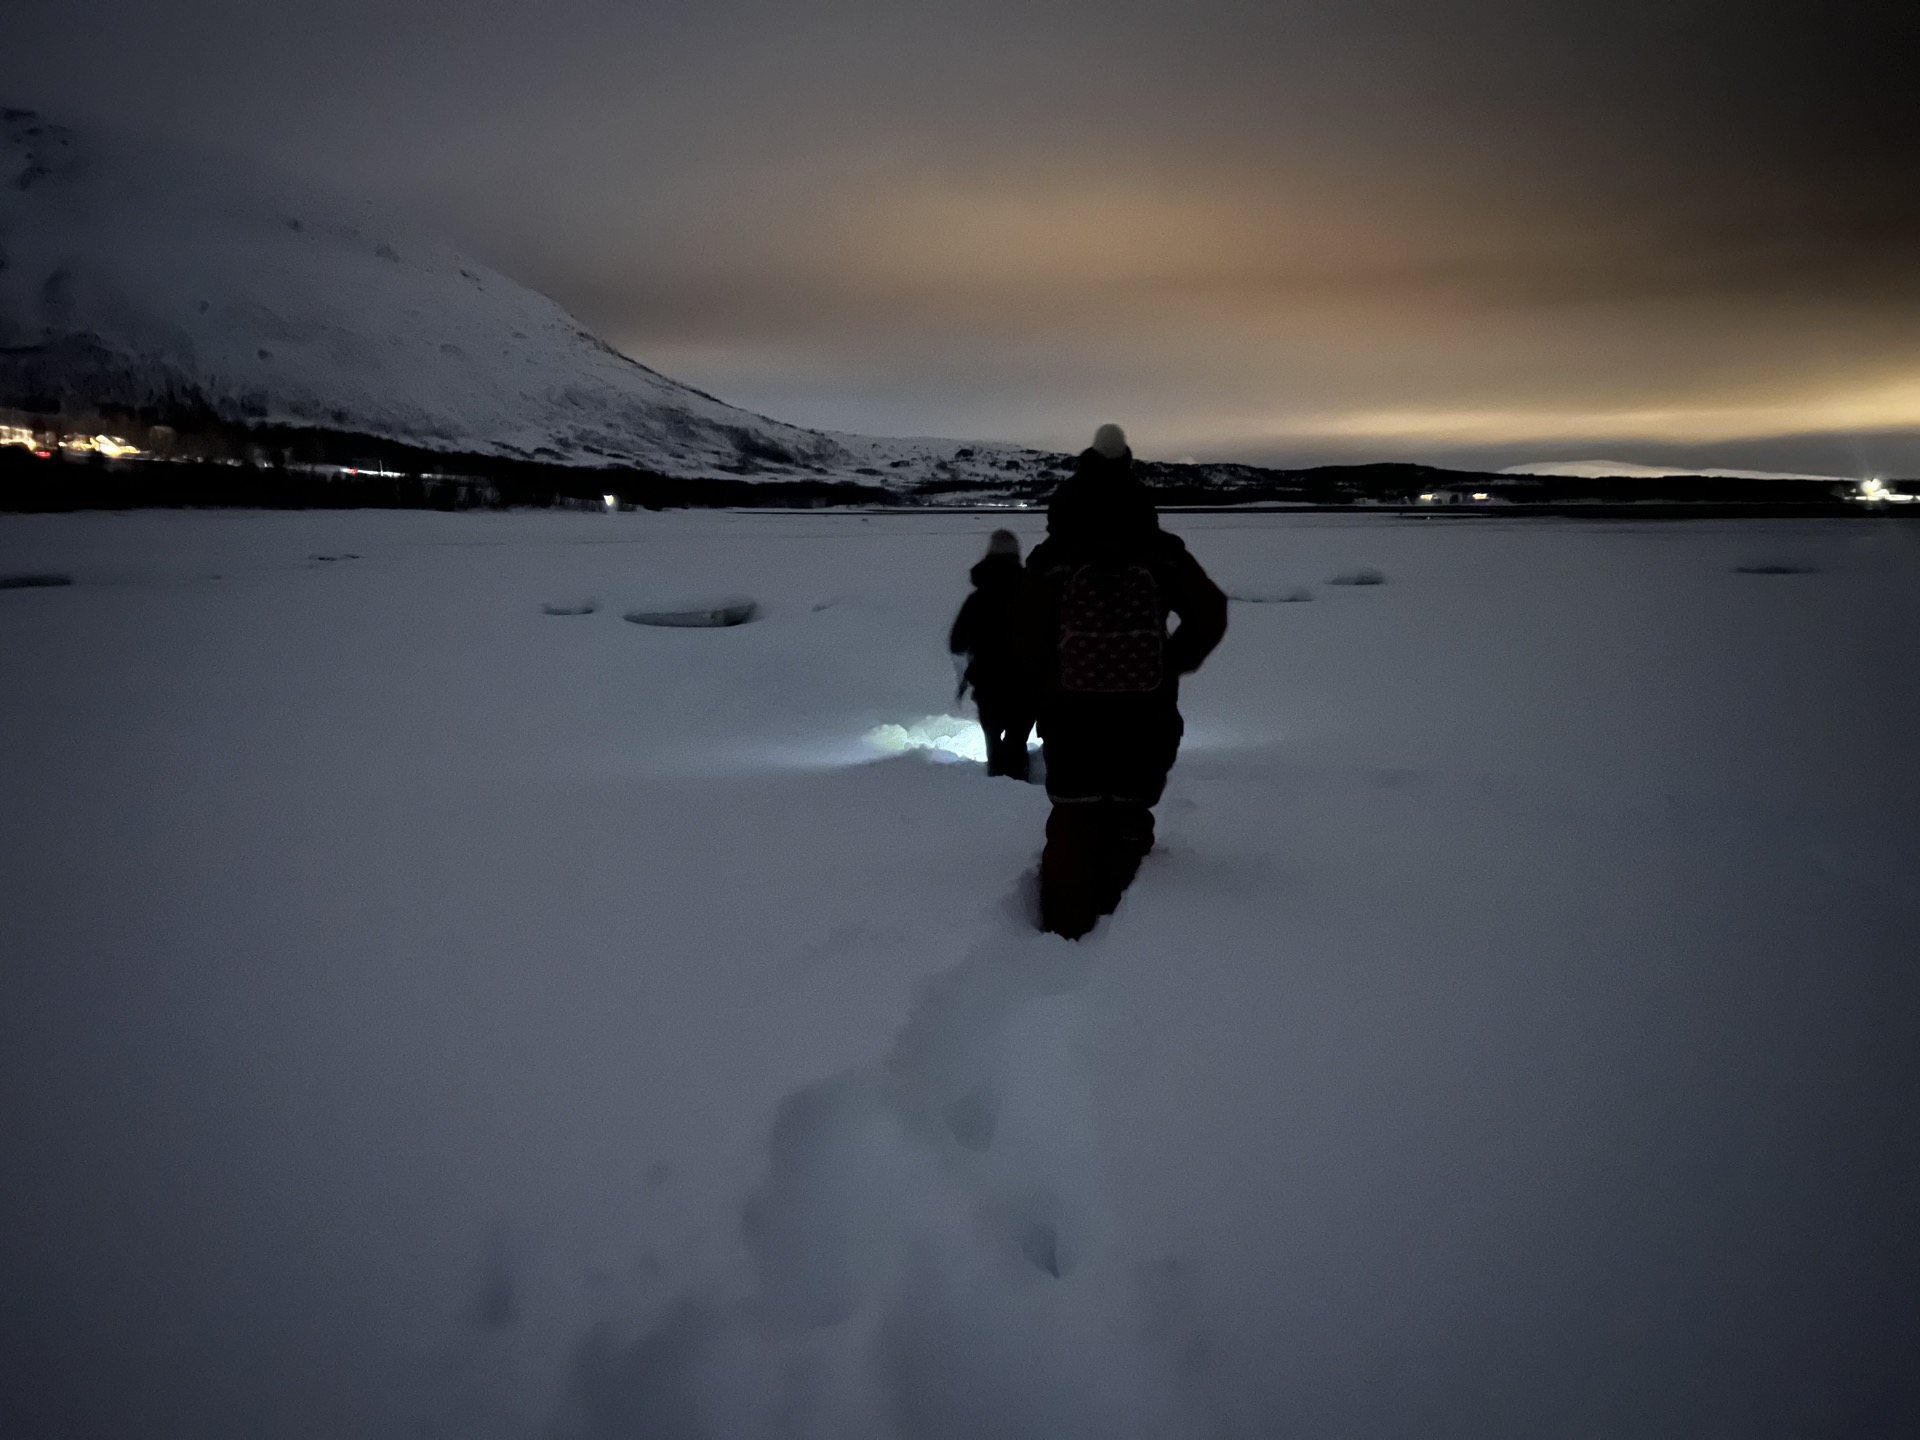
It was dark by then, but our two guides had flashlights and we blindly followed them. As all of us began to walk around a bit, we created a nice little walk way.
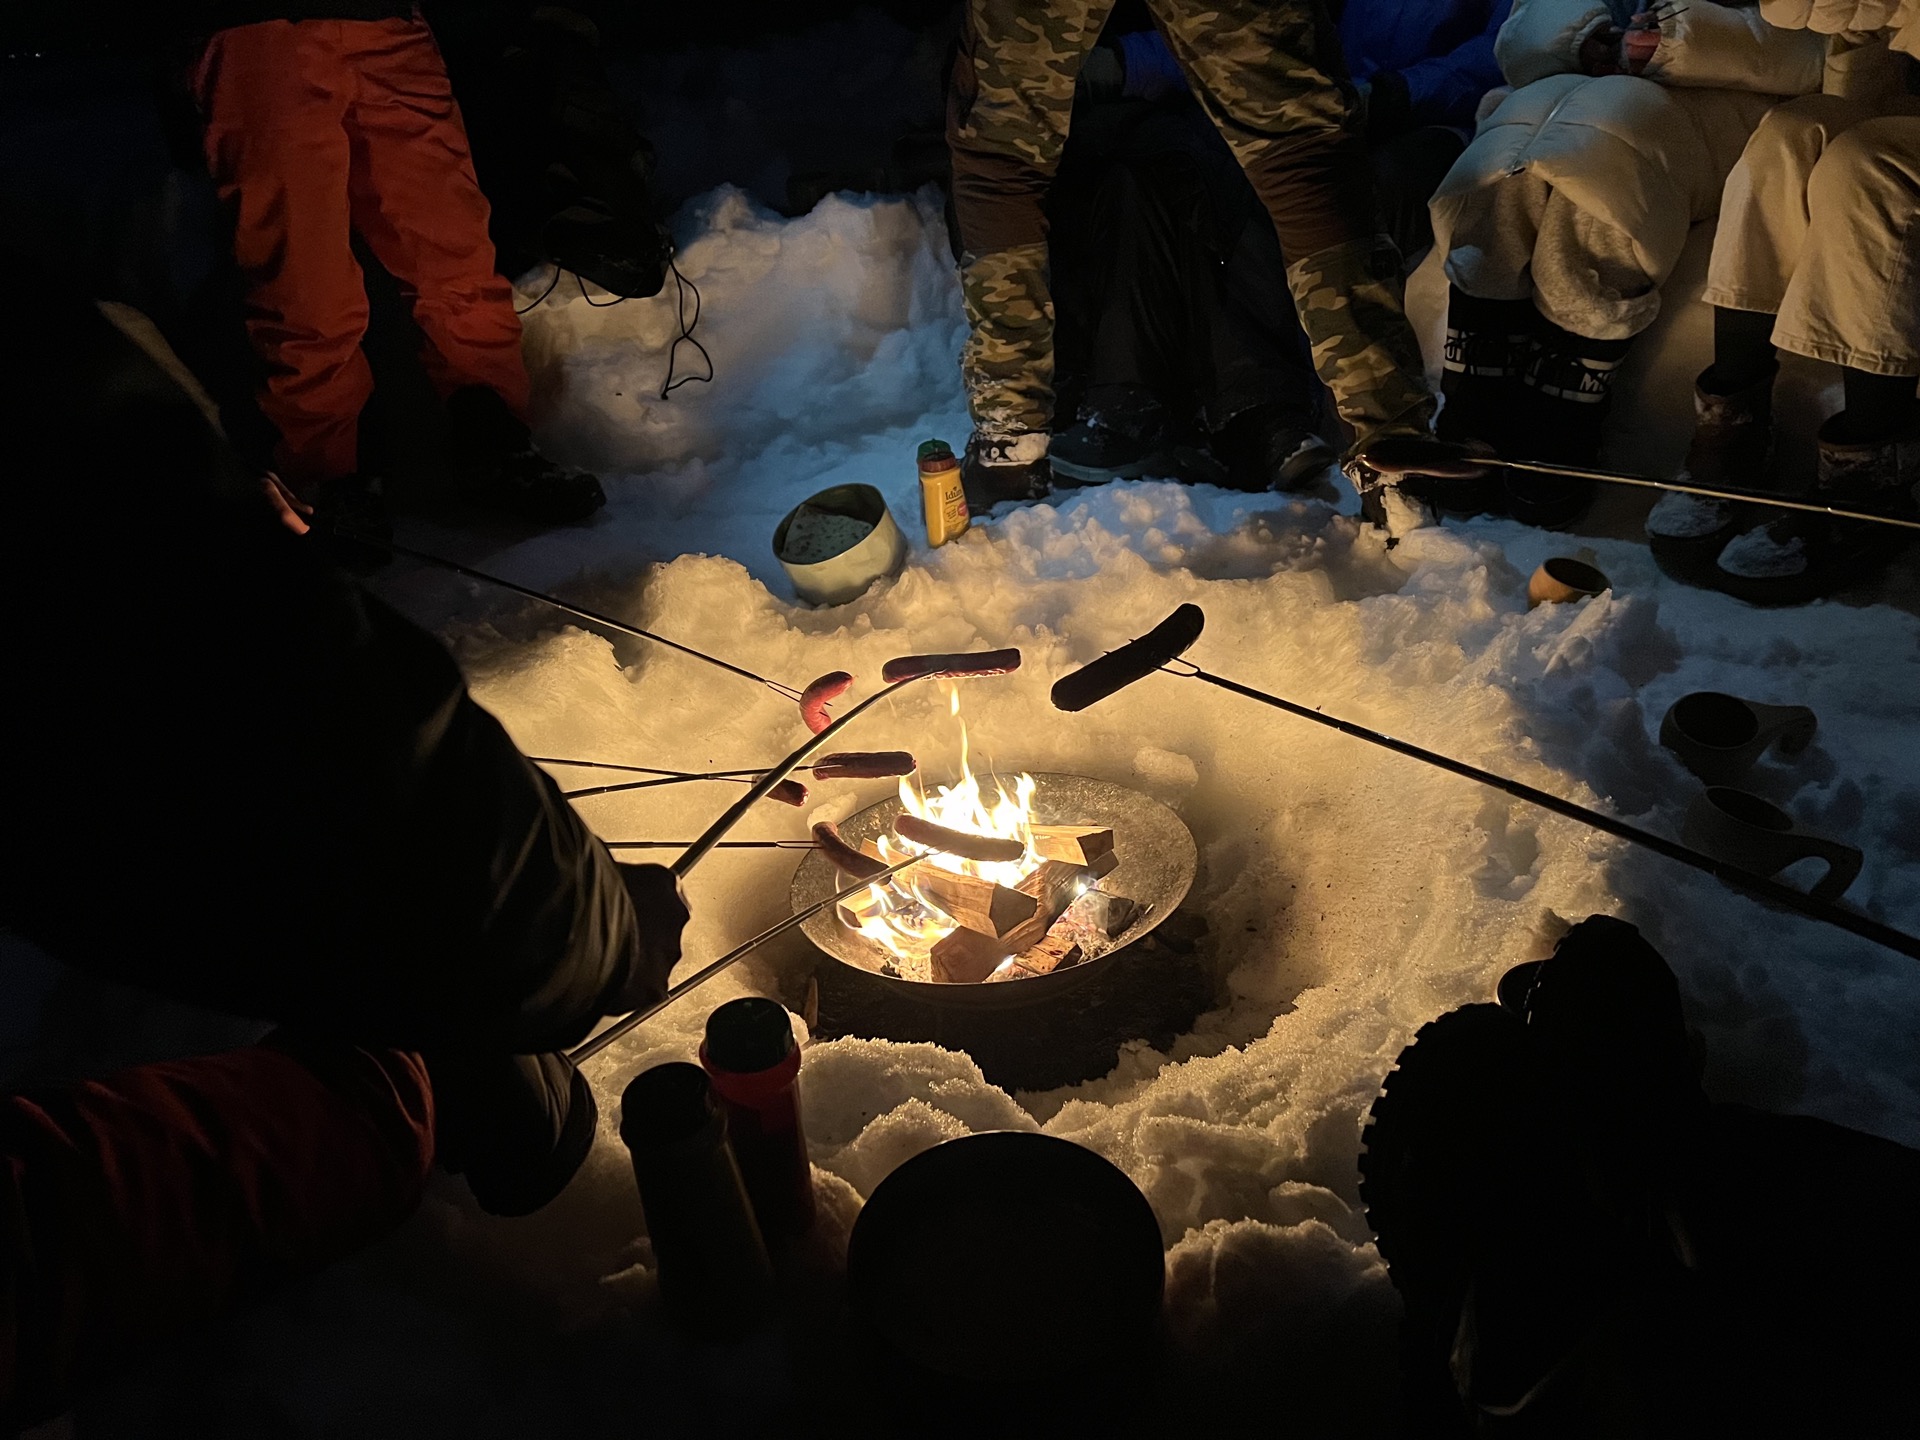
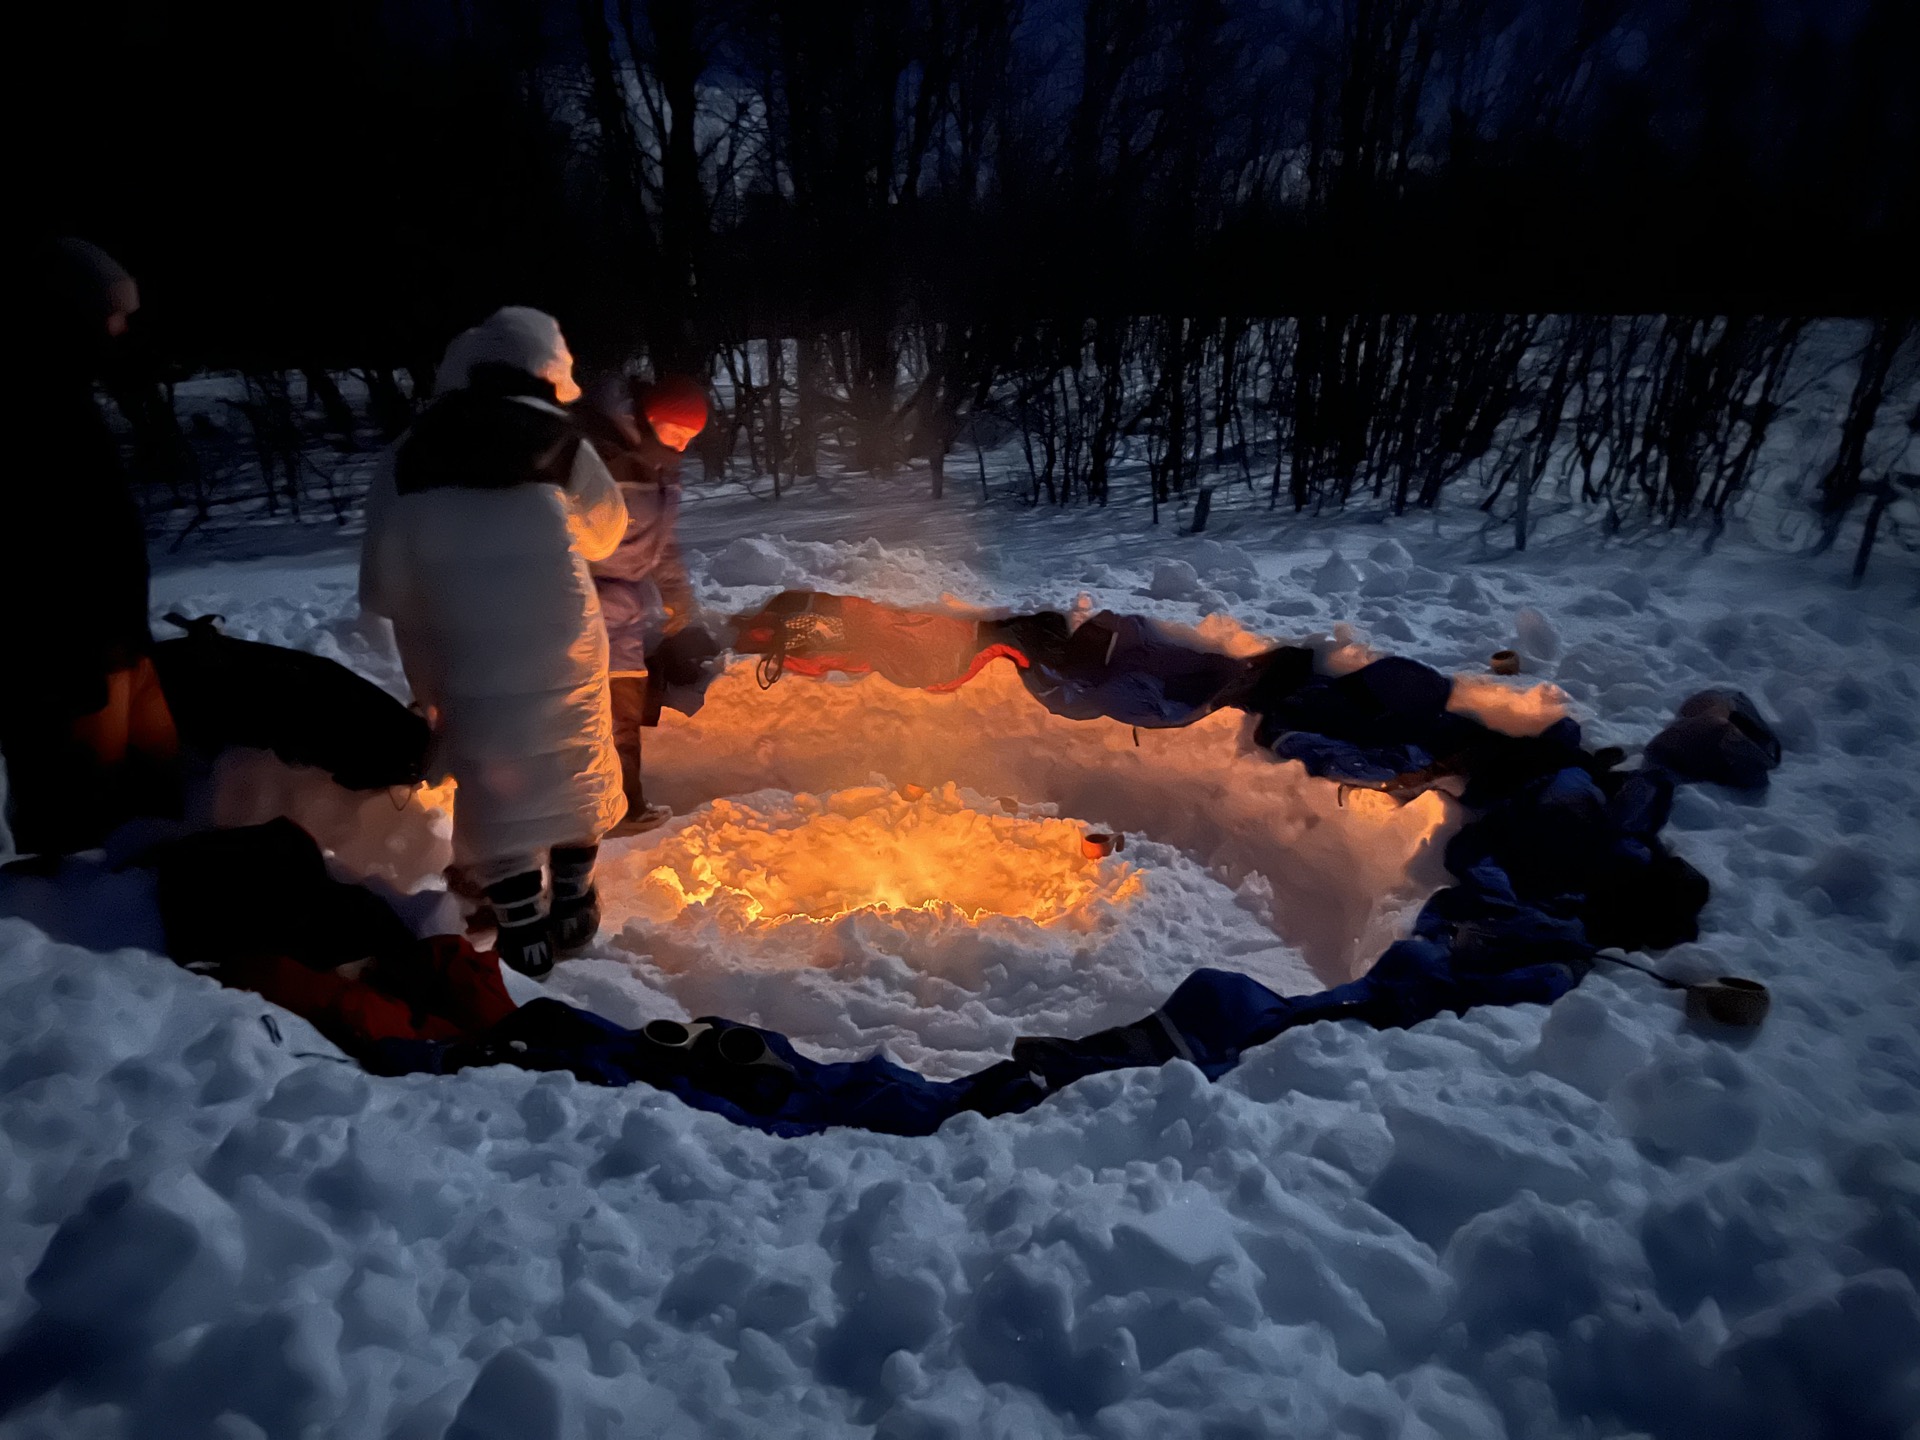
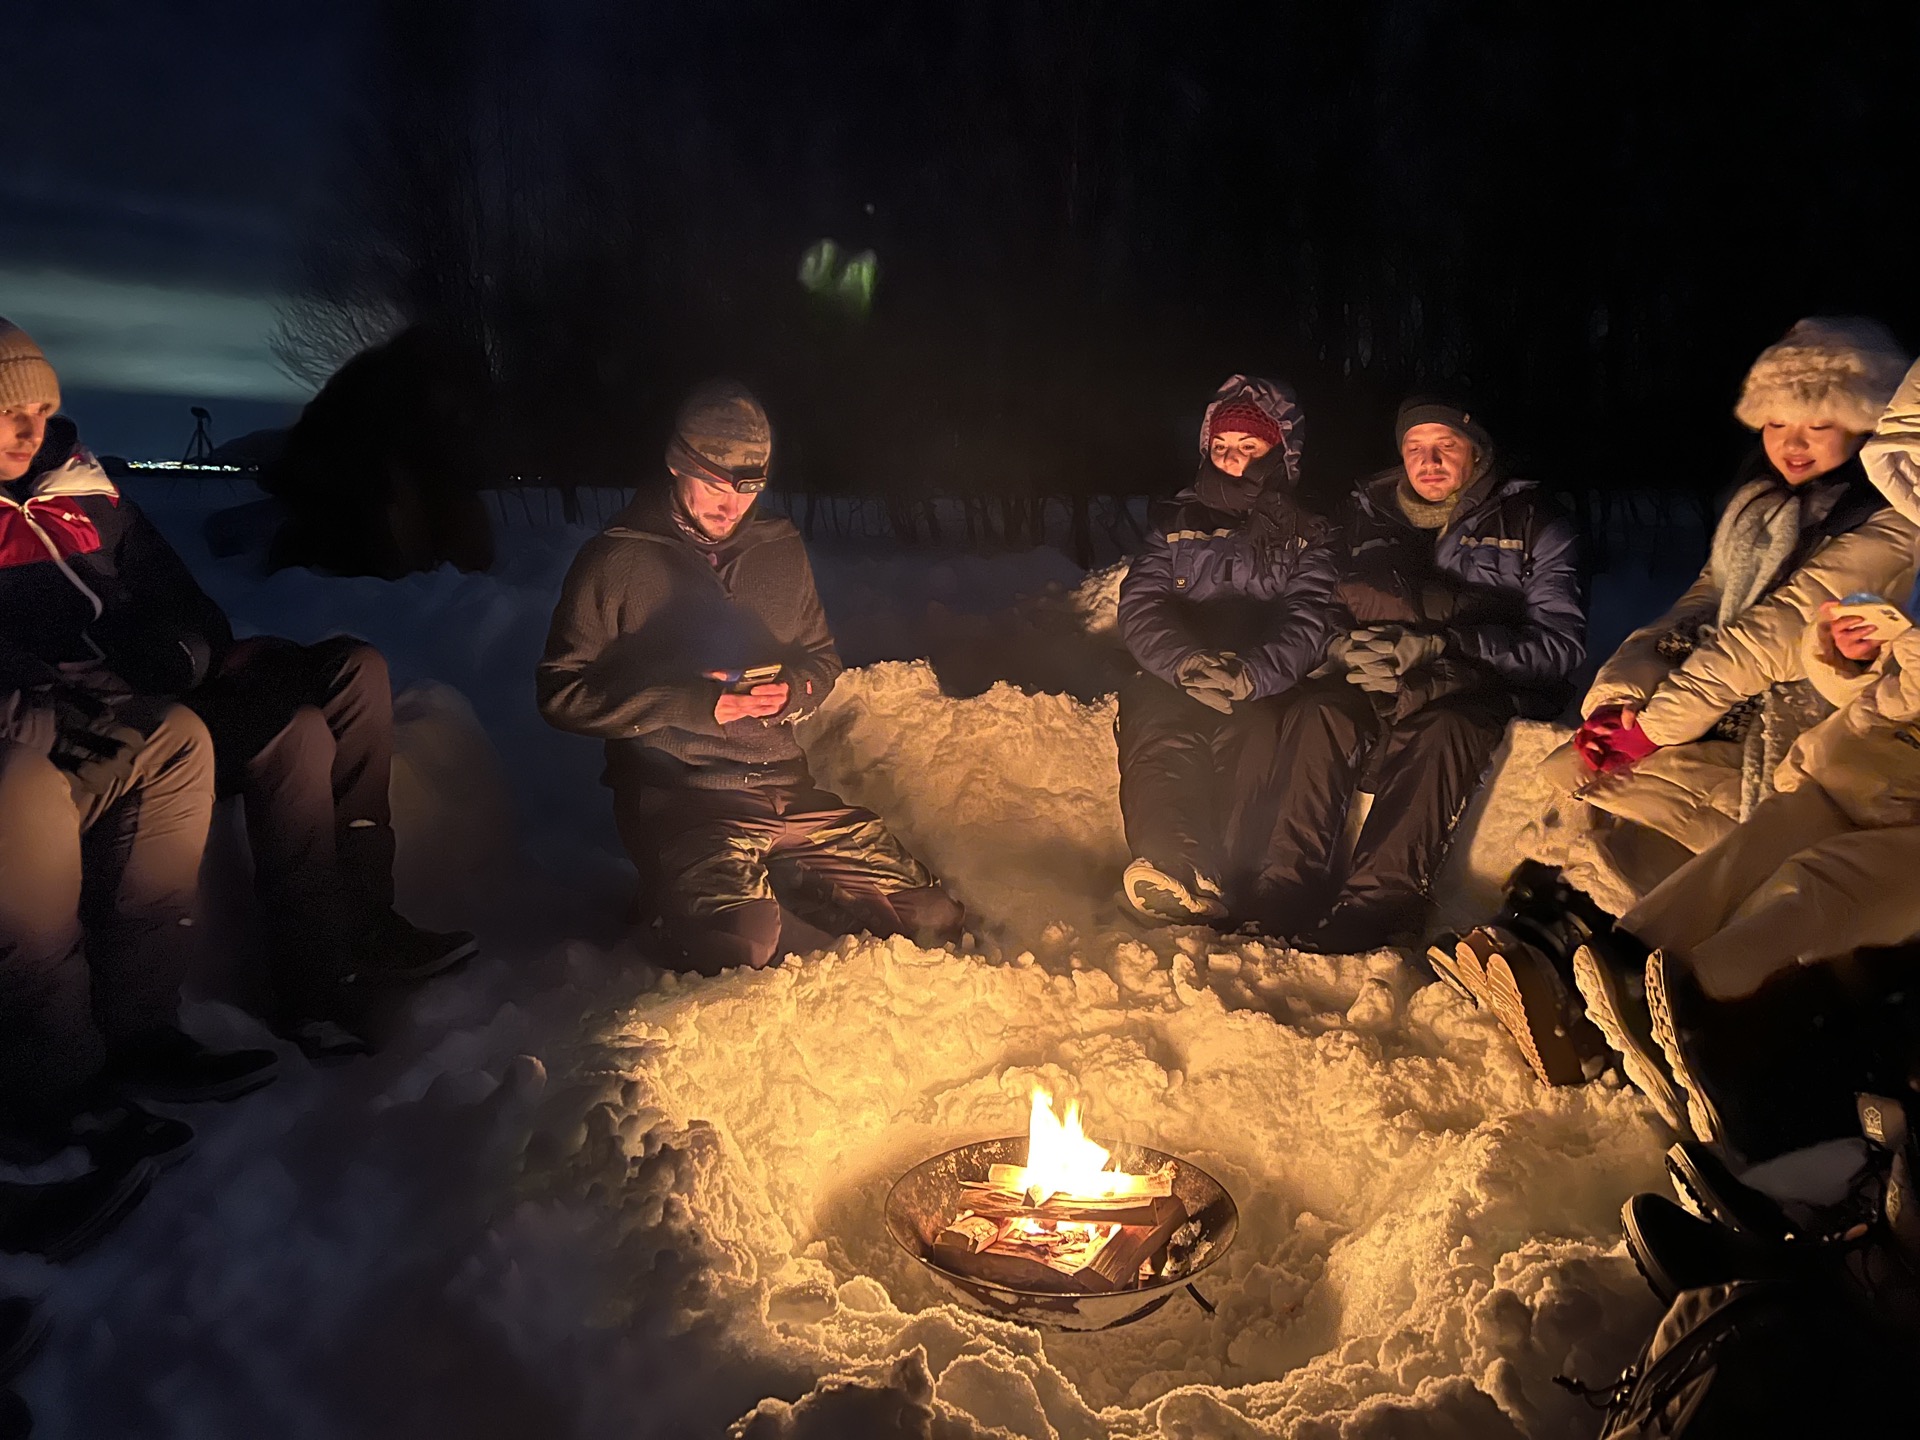
While we all stood around wondering what to do next, our driver, who doubled as our guide’s assistant, got to work. He dug out a circle of snow where he built a fire. Then, I kid you not, this man shoveled us out a full “snowbench” around the fire. He covered it with with some extra snowsuits and it was surprisingly comfortable!
Despite our little benches and our warm fire, we were still in the middle of the snowy woods. There was no bathroom. If you needed to the use the bathroom, you had to find a hidden spot behind a tree. Personally, my “hack” was a spot in front our van on the side of the road. It was secluded from the rest of the camp and hidden quite well behind a snow drift. Hardly anyone was driving down this particular road, but if they had driven by, I was protected by our parked van.
Wait, Wait, Wait
And then you wait.
This is the part that no one talks about. Or maybe they do, and I wasn’t listening. But when I pictured my night watching the Northern Lights, I didn’t picture myself trudging through feet of snow in the freezing cold and sitting on a snowbench for hours waiting for for the Northern Lights to just appear. That’s how it goes though.
How long you wait for the lights will of course vary, based on how long you have to drive and when the lights decide to show up, if they show up at all. During my tour, it was two hours from the time we arrived at our spot til we saw our first glimpse of Northern Lights. By the time we departed our snow camp, we’d been outside for 4.5 hours.
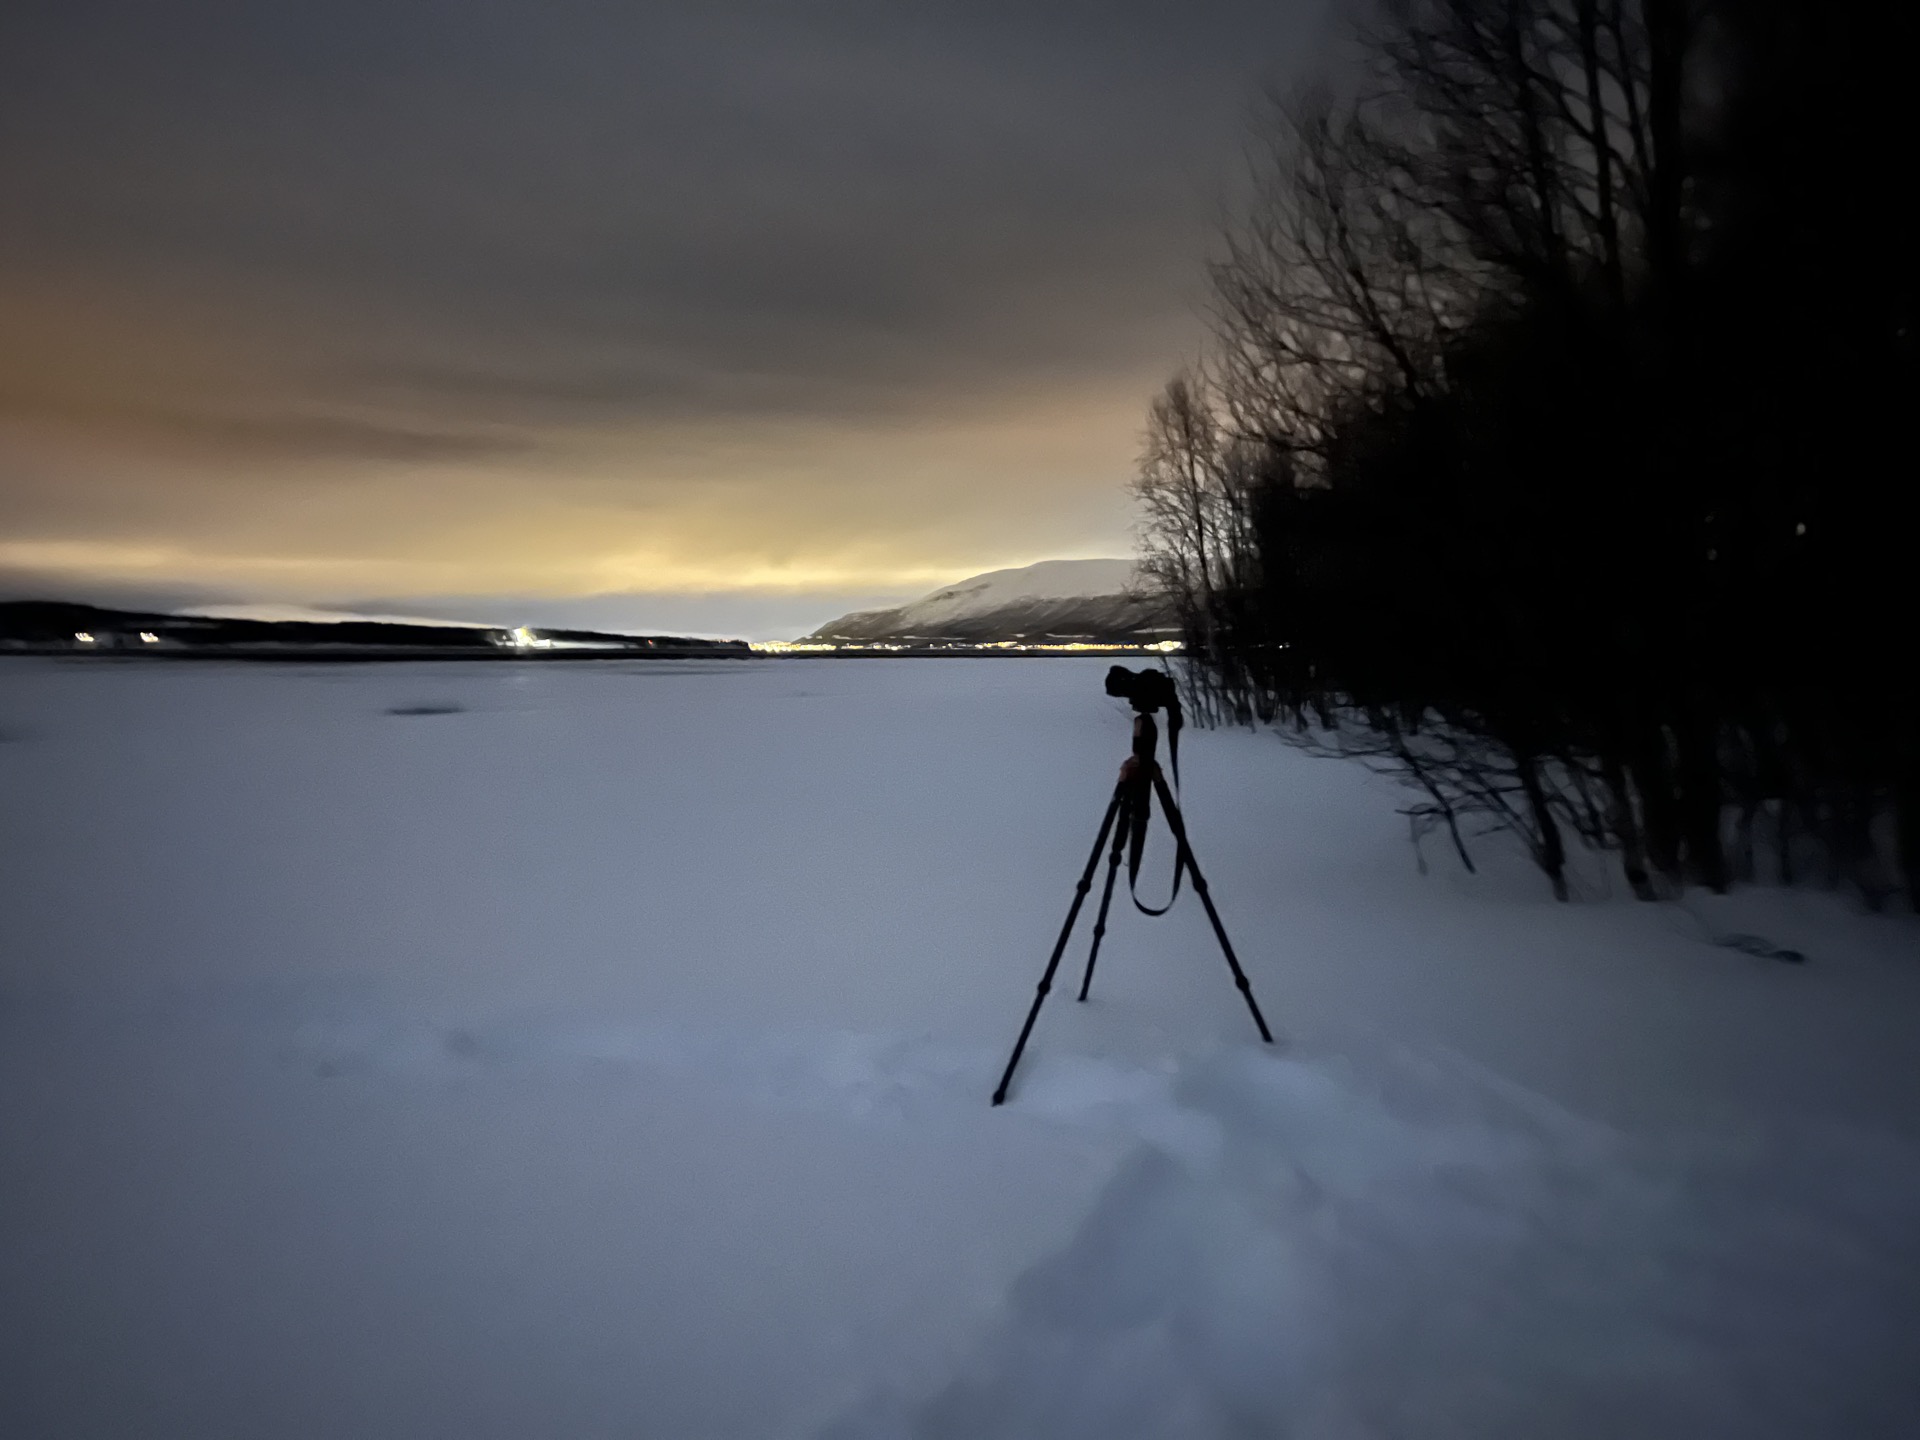
While we waited for the lights, the photographers in the group took some time setting up their tripods and cameras. It seemed like most people with real cameras knew what they were doing, but our guide came around and offered tips on camera settings, placements and shooting techniques.
After that, we all sat around the cozy fire. Our guide explained the science behind the Northern Lights. He talked about Finland, reindeer, and the stars, and told us stories about what the lights have meant to the people of Lapland throughout history. He poured us piping hot mugs of hot cocoa and we roasted reindeer (or vegetarian) sausages over the fire.
And then our guide excused himself to take a photo of our group. When he showed it to us, we gasped to see the Northern Lights shining above us in the frame.
The Northern Lights
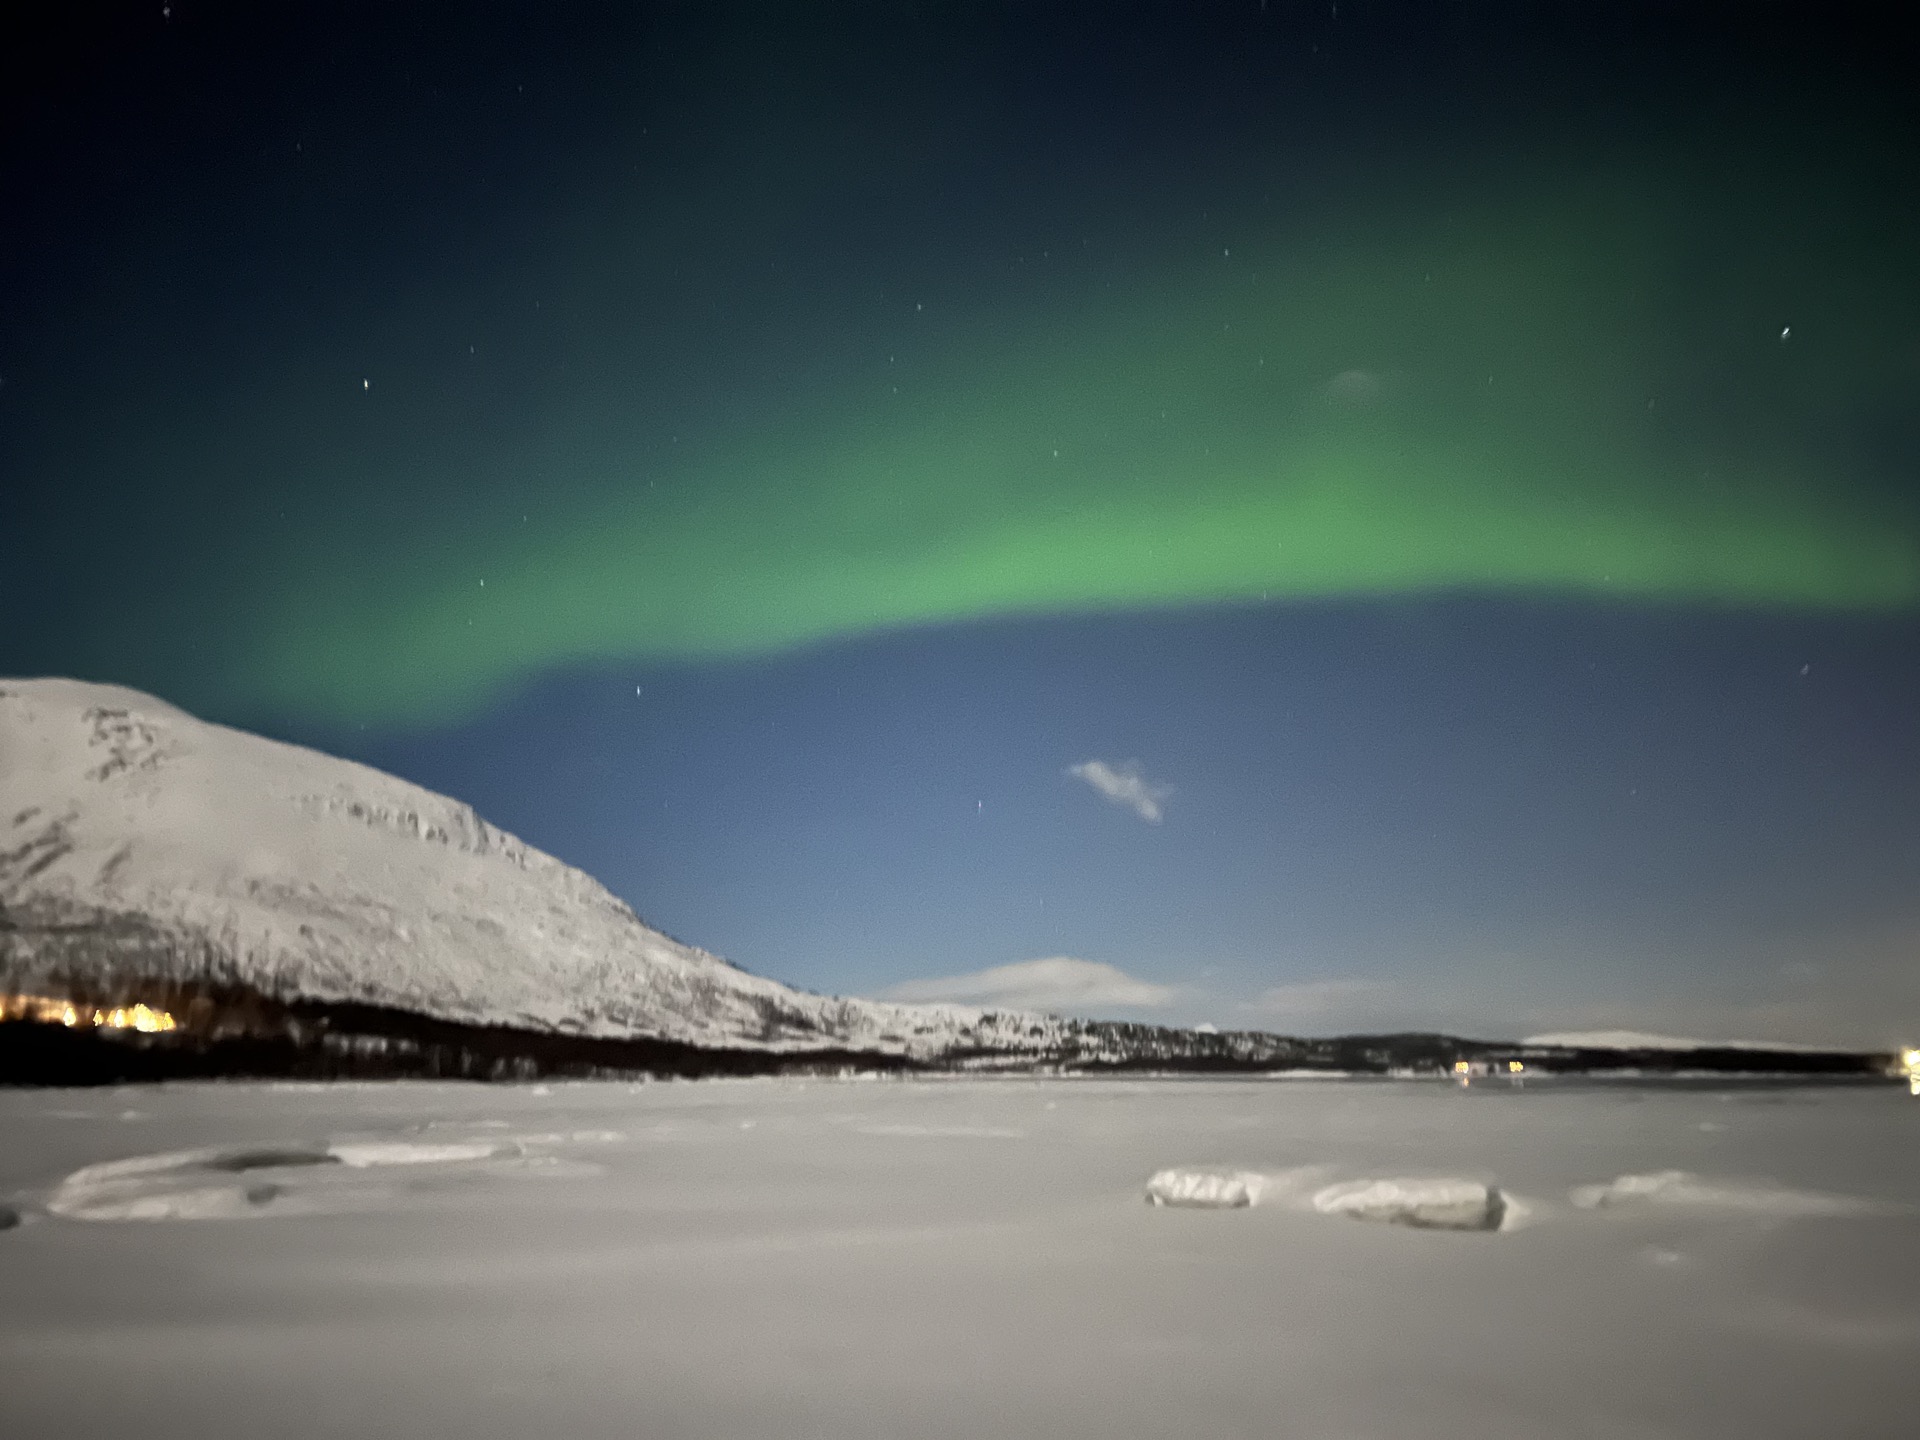
If you’re lucky, and the clouds and space magnets align, you will hopefully catch a glimpse of the Northern Lights. After all, that’s why you spent your evening in the snowy woods.
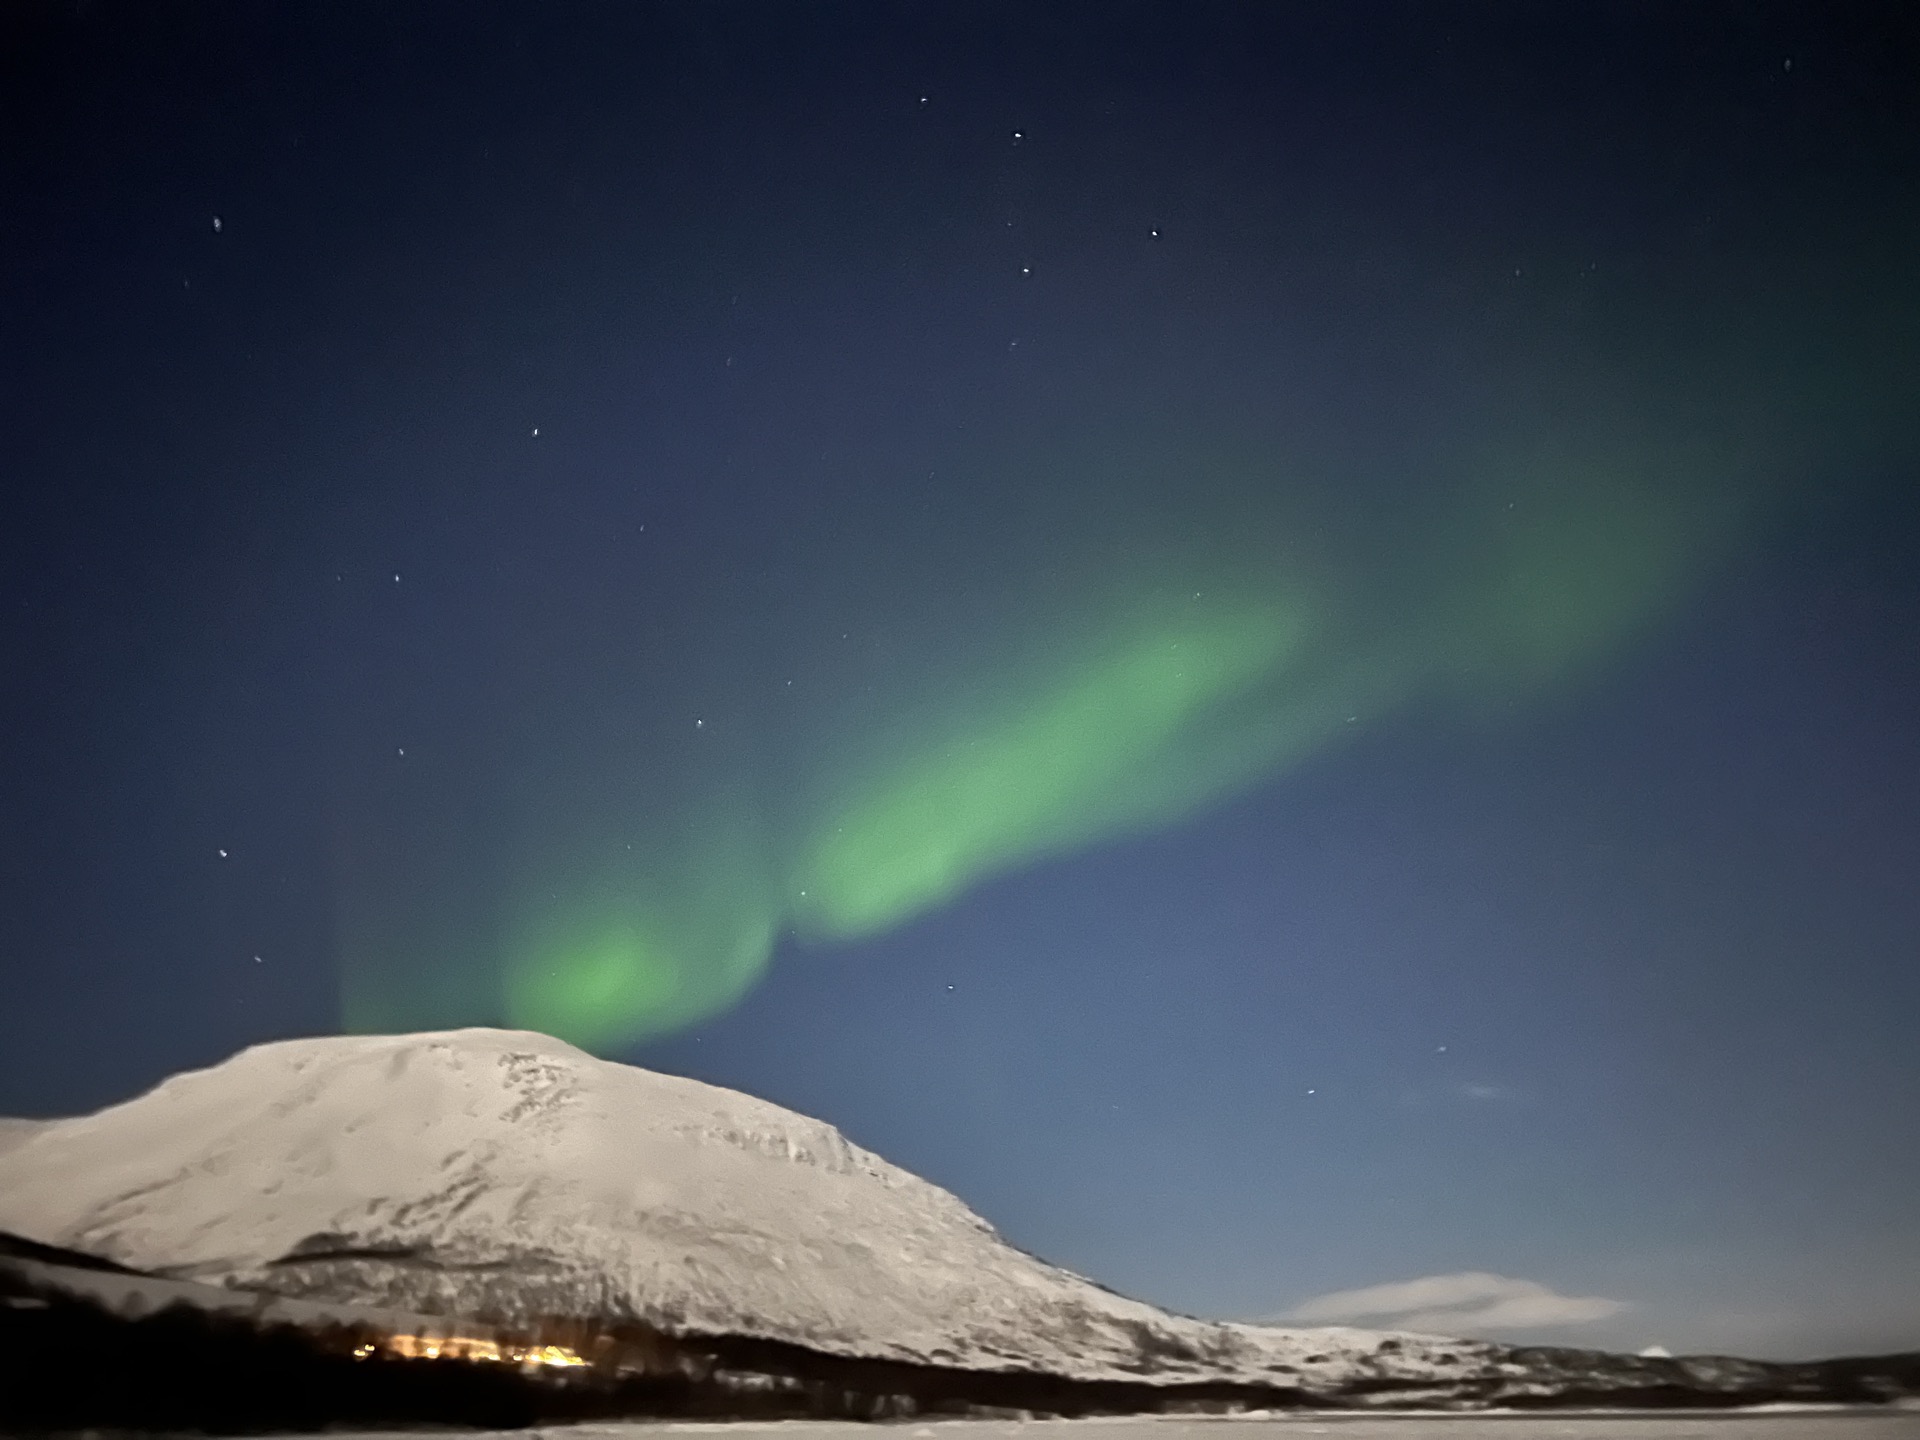
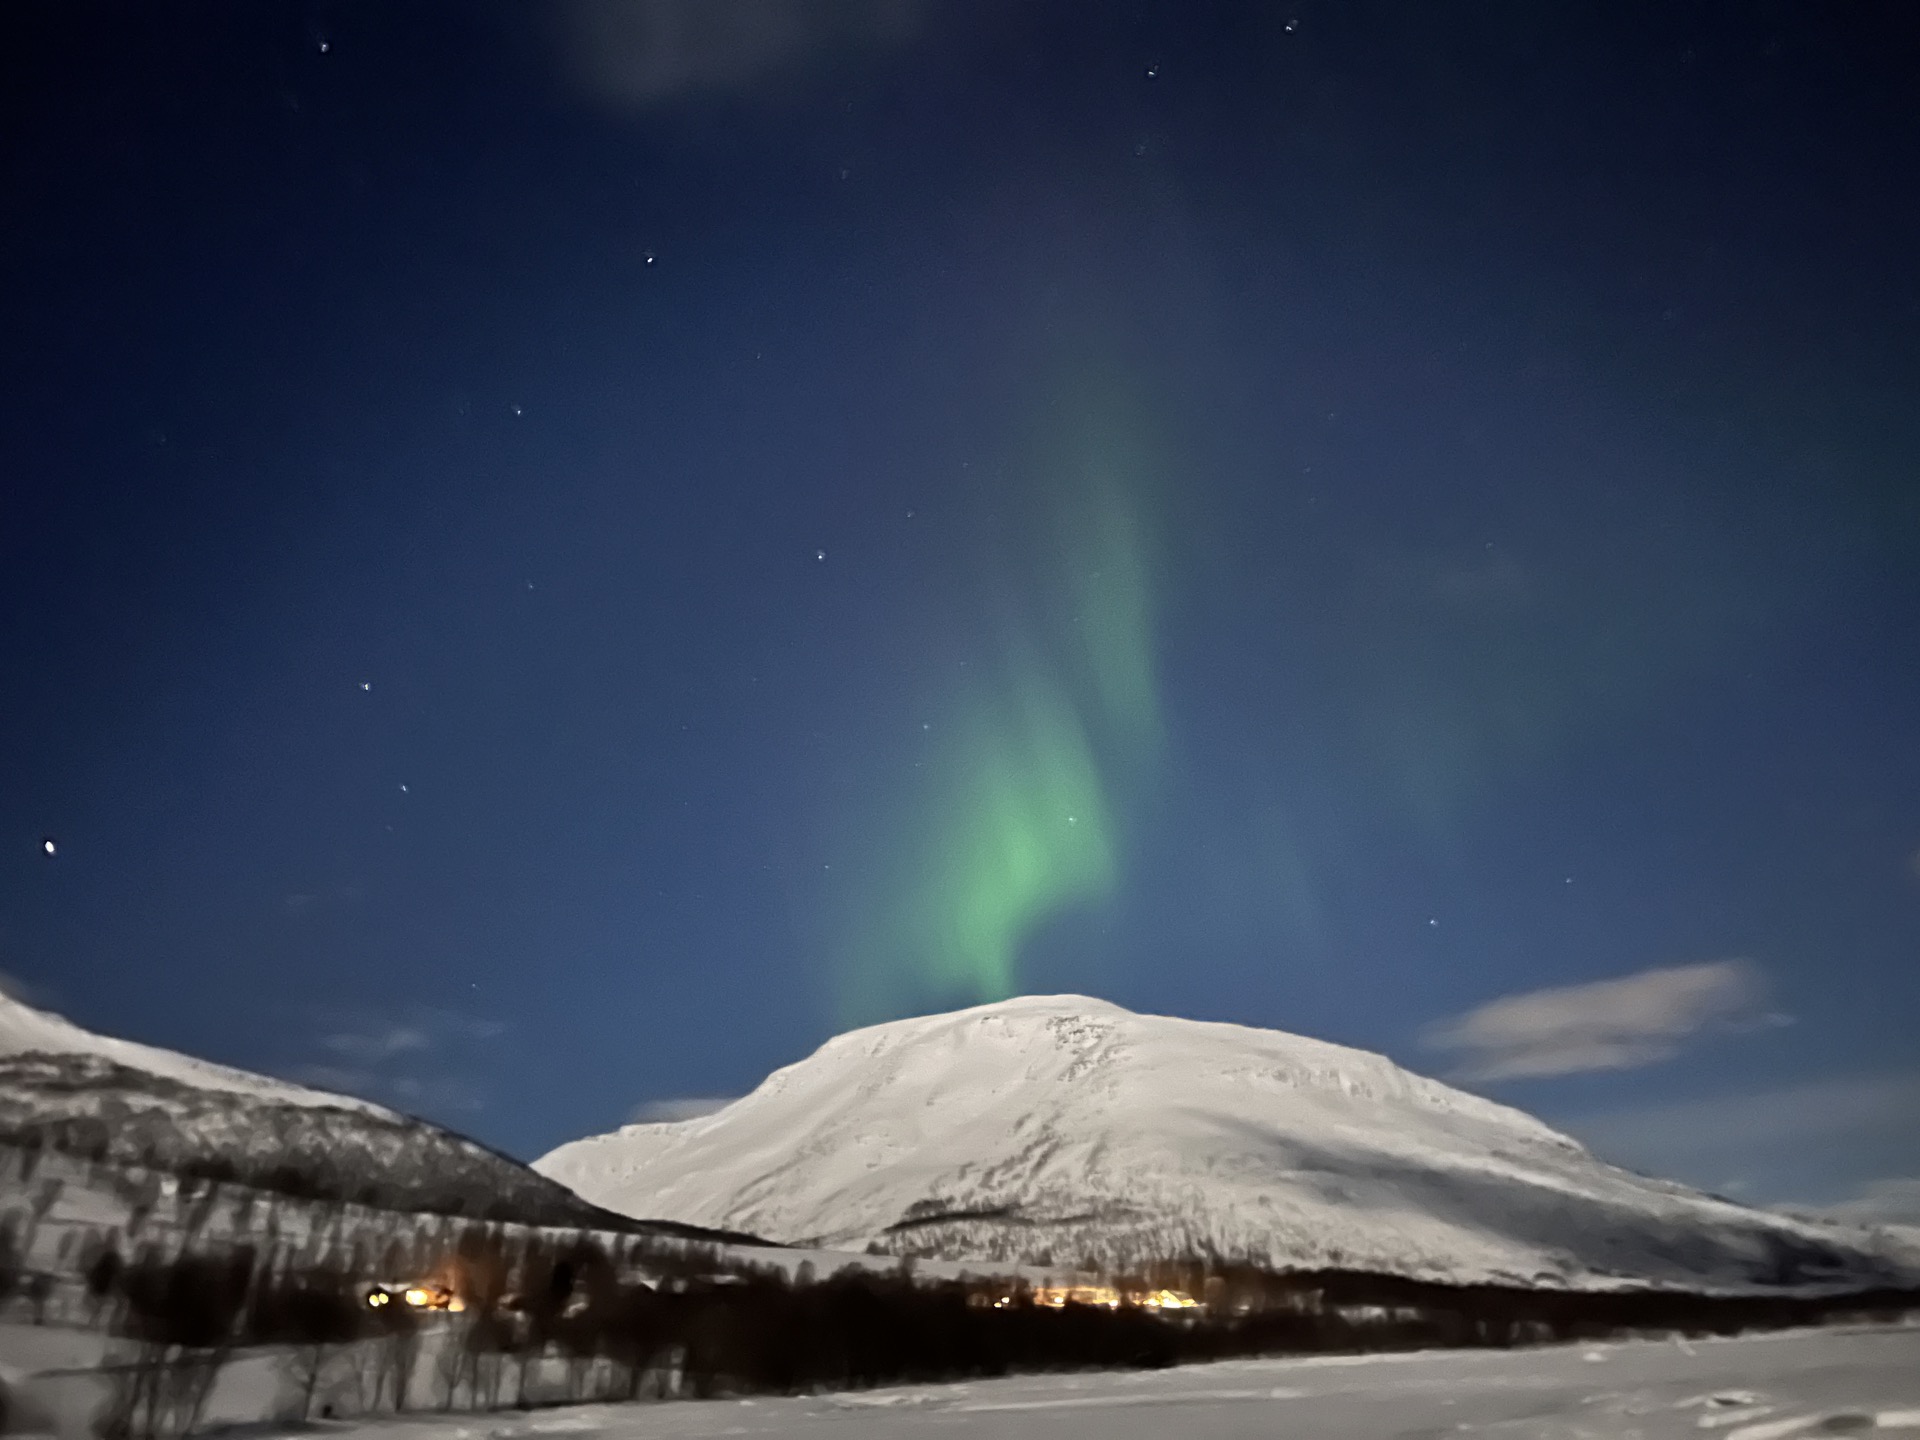
The Northern Lights vary in color, brightness, shape, and intensity based on a wide variety of factors. Each night, the experience is different. I hope that you see the pillars that fill the whole sky. I hope they move and dance in a rainbow of colors including greens and pinks and reds. However, I also want you to be prepared for the fact that in real life, it might be a little less dramatic than Instagram makes it seem.
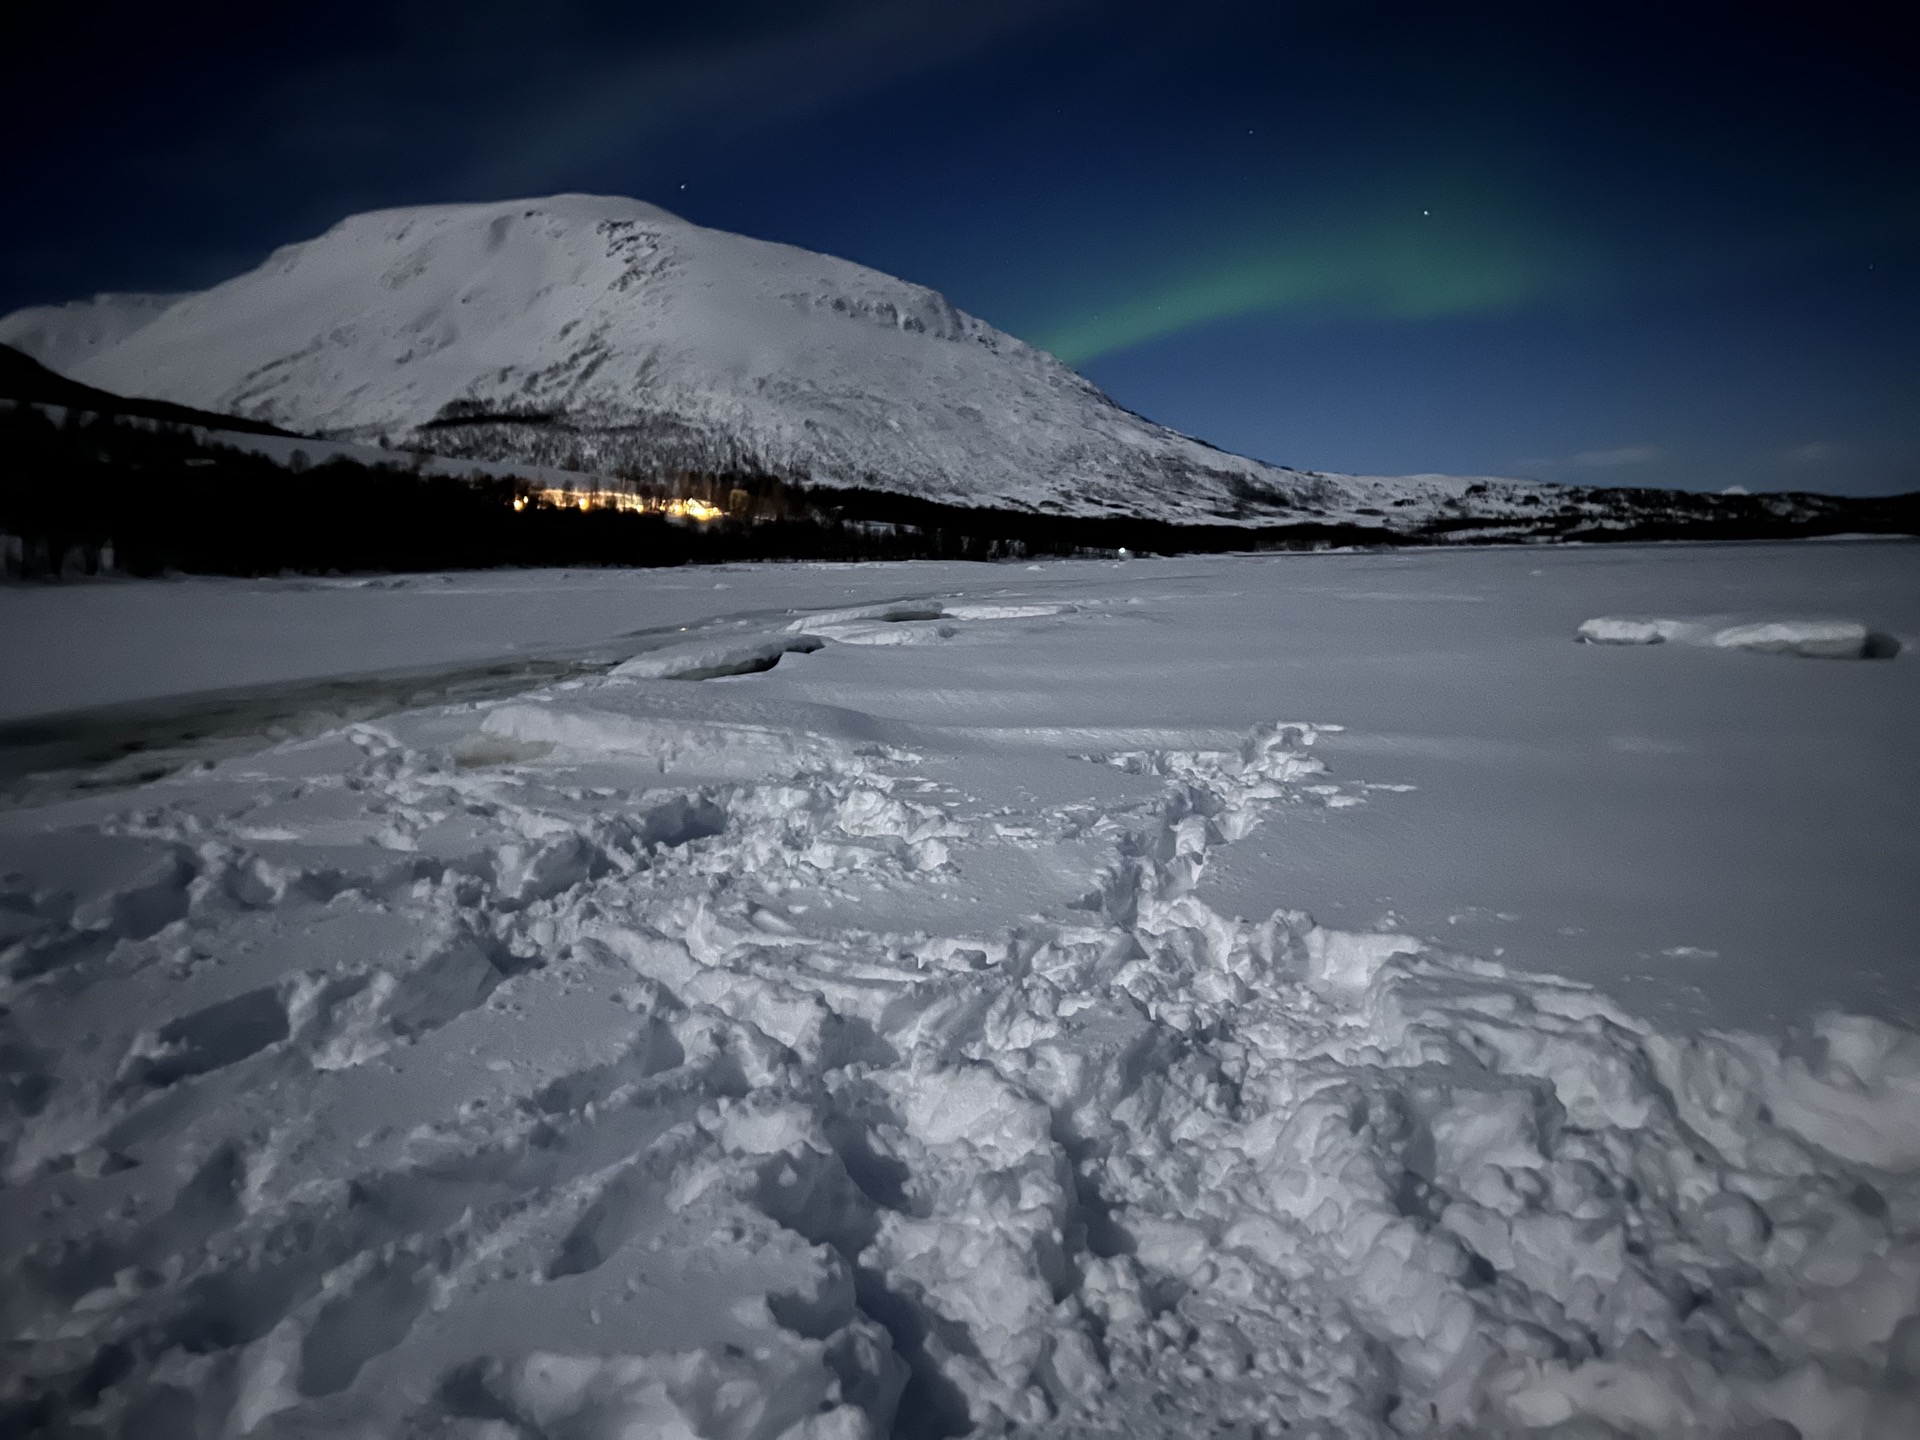
The lights usually start out faint. Camera’s can pick up the color better than the naked eye, so you’ll probably first notice the color through a camera lens. Then they might form vertical pillars or stretch into a band as they begin to brighten. As they get going, the lights might visibly move and change patterns in the sky.
The lights might vary in intensity as the night goes on, maybe coming and going as the geomagnetic activity fluctuates. Sometimes they appear and quickly fade, while other nights they last for hours. You can hope for the best, and the guides can plan their best, but you never know what you’re going to get with the Northern Lights.
While the lights put on their show, our group dispersed to soak it all in. Our guide offered to take portraits of everyone, and also snapped pictures of lights that he would send to us later that night. He made the rounds to everyone in the group, taking photos, offering photography tips, and chatting with each of us.
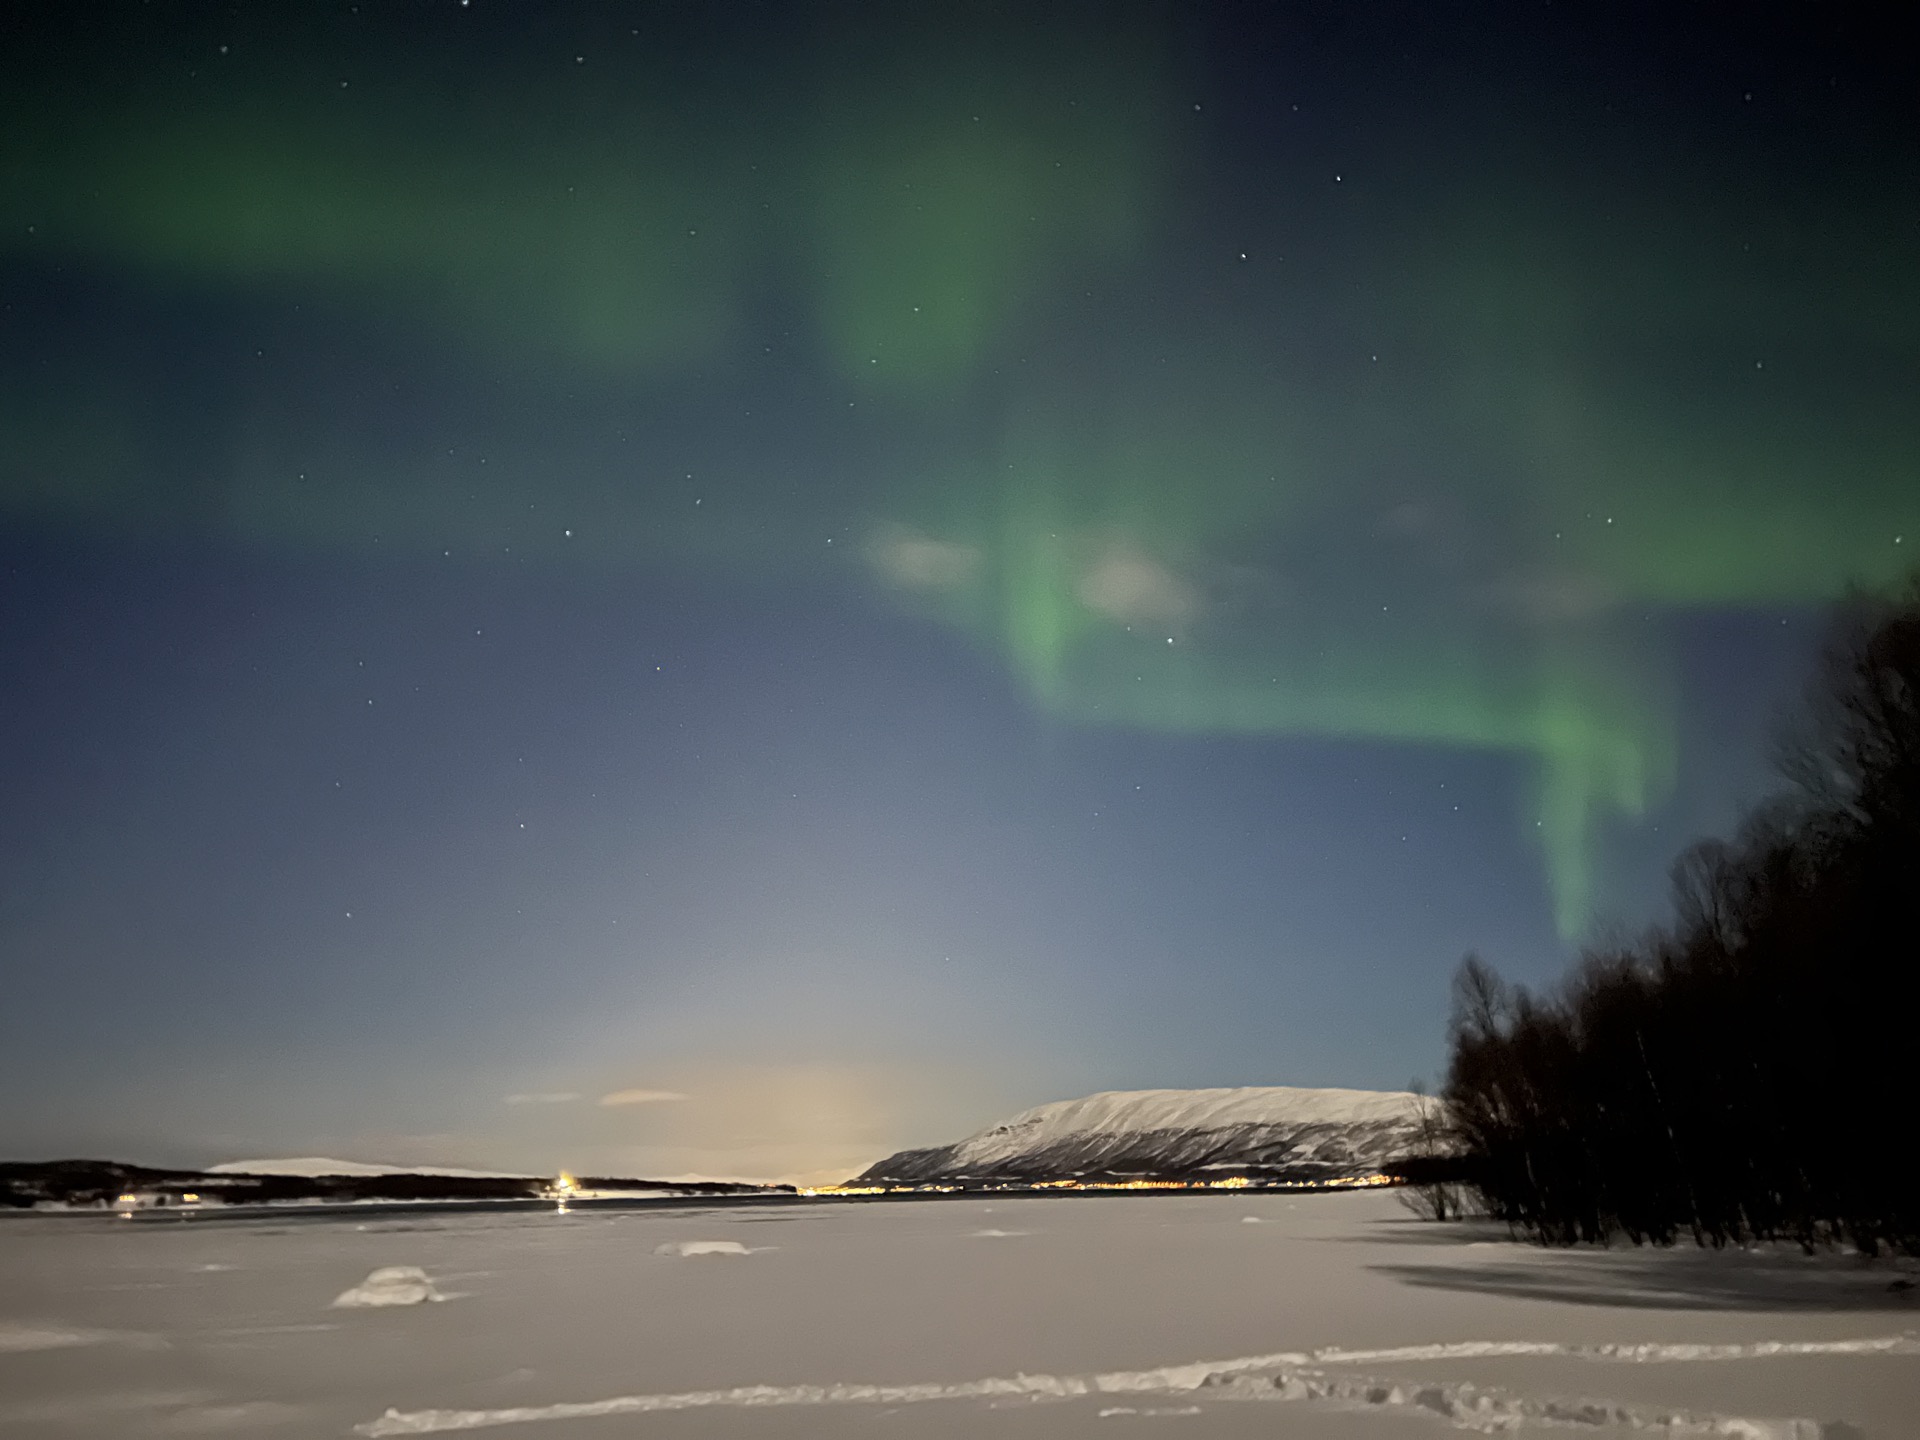
We first saw the lights around 9, then they disappeared for a bit before returning with full force around 10:30. By 11:30, the lights seemed to fade and we called it a night.
I’ve only seen the Northern Lights this one time. I can’t say how the lights I saw compare with other people’s experience. (My guide smoothly dodged my repeated questions about how “good” our lights were. He insisted that it only mattered how I felt about them.)
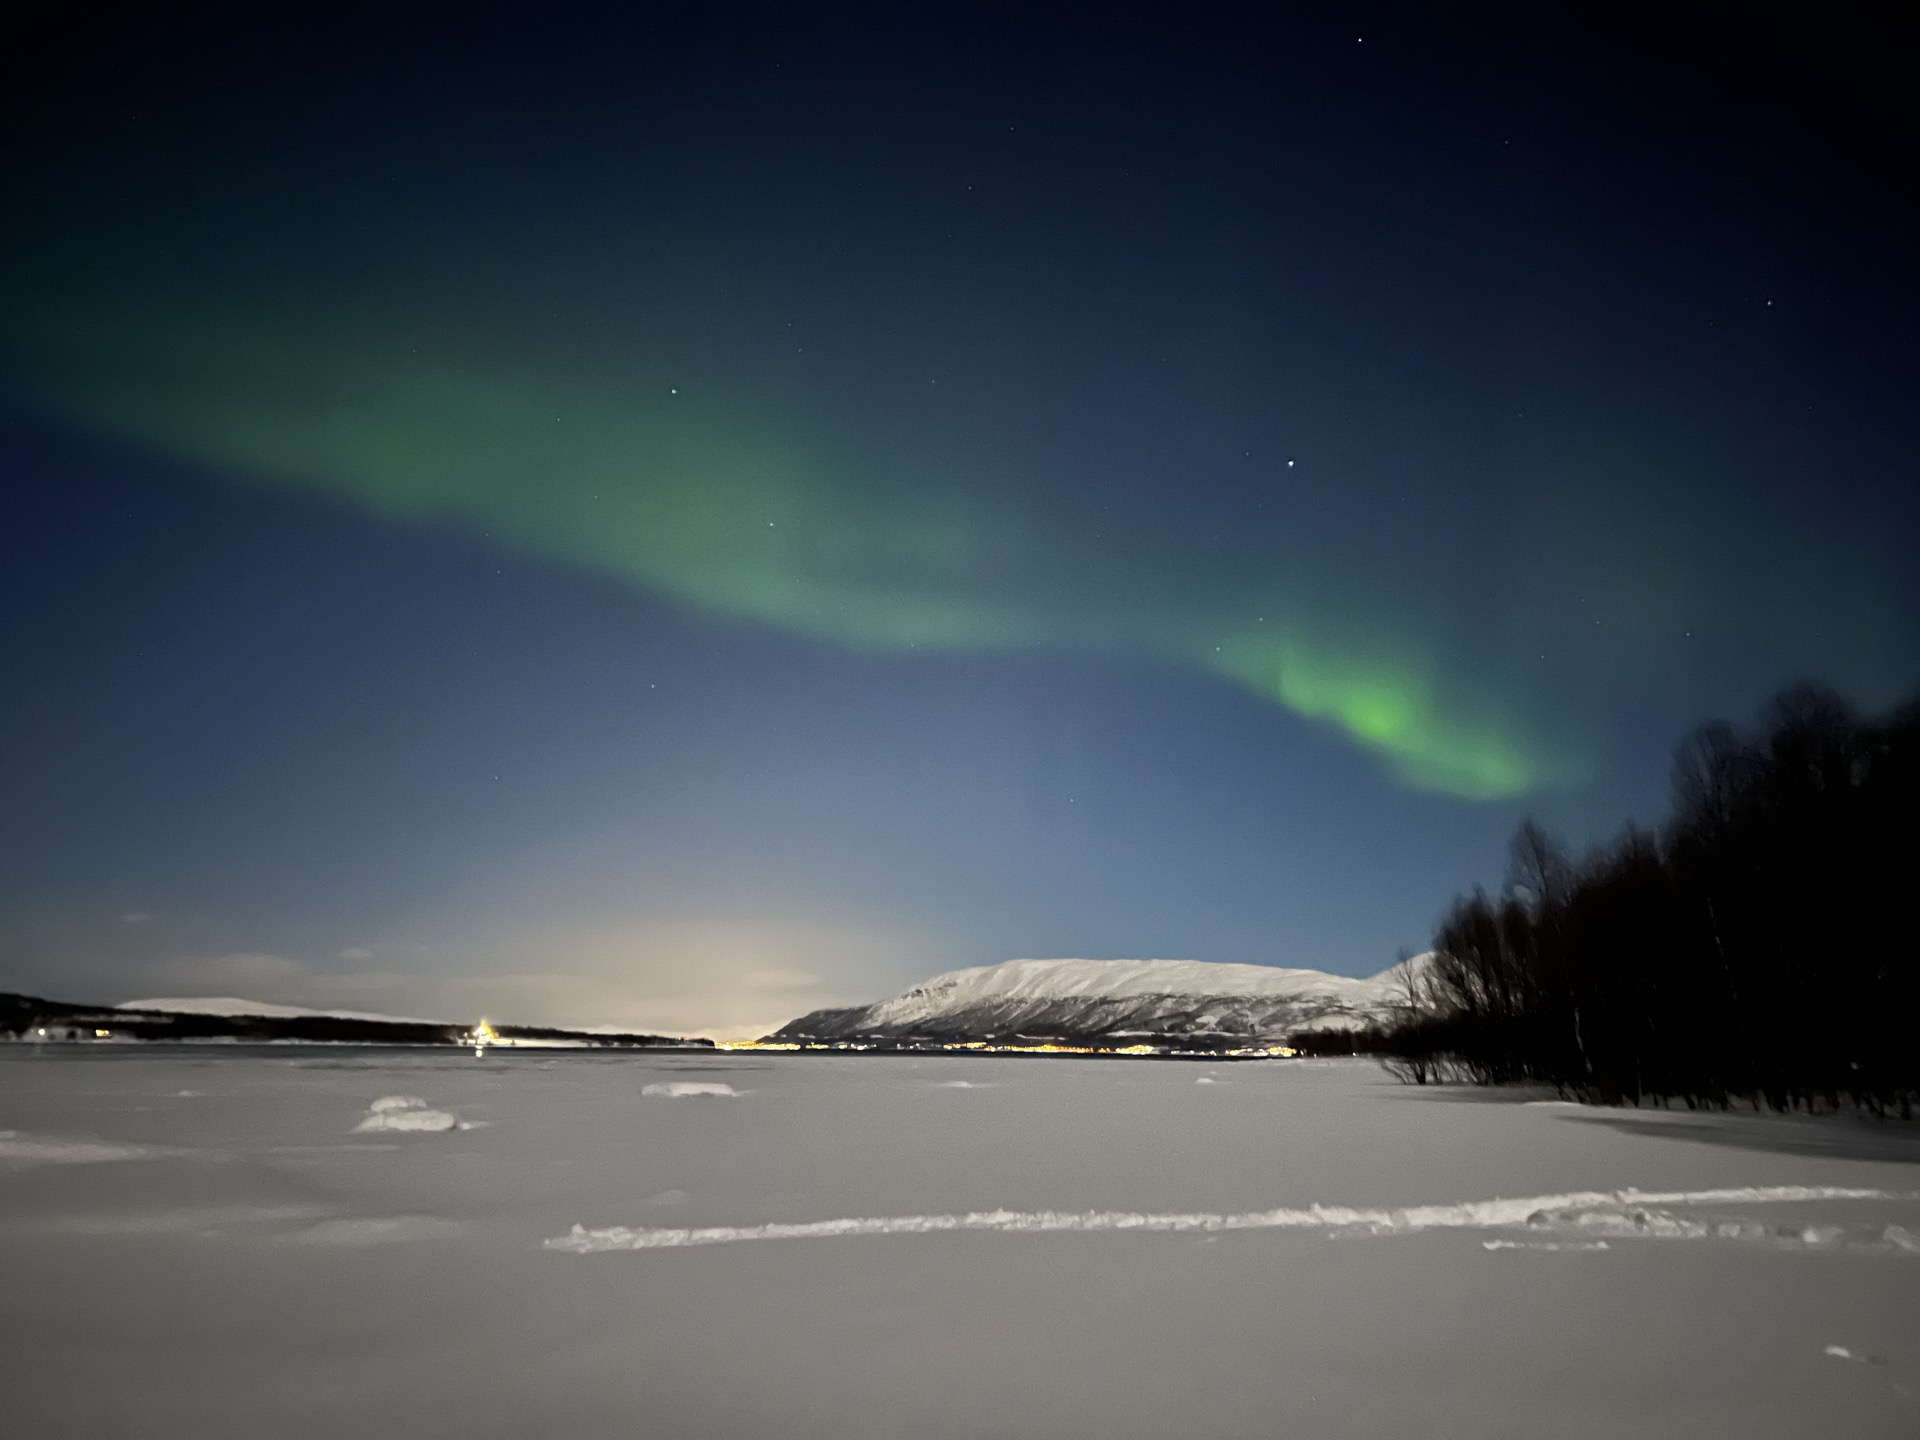
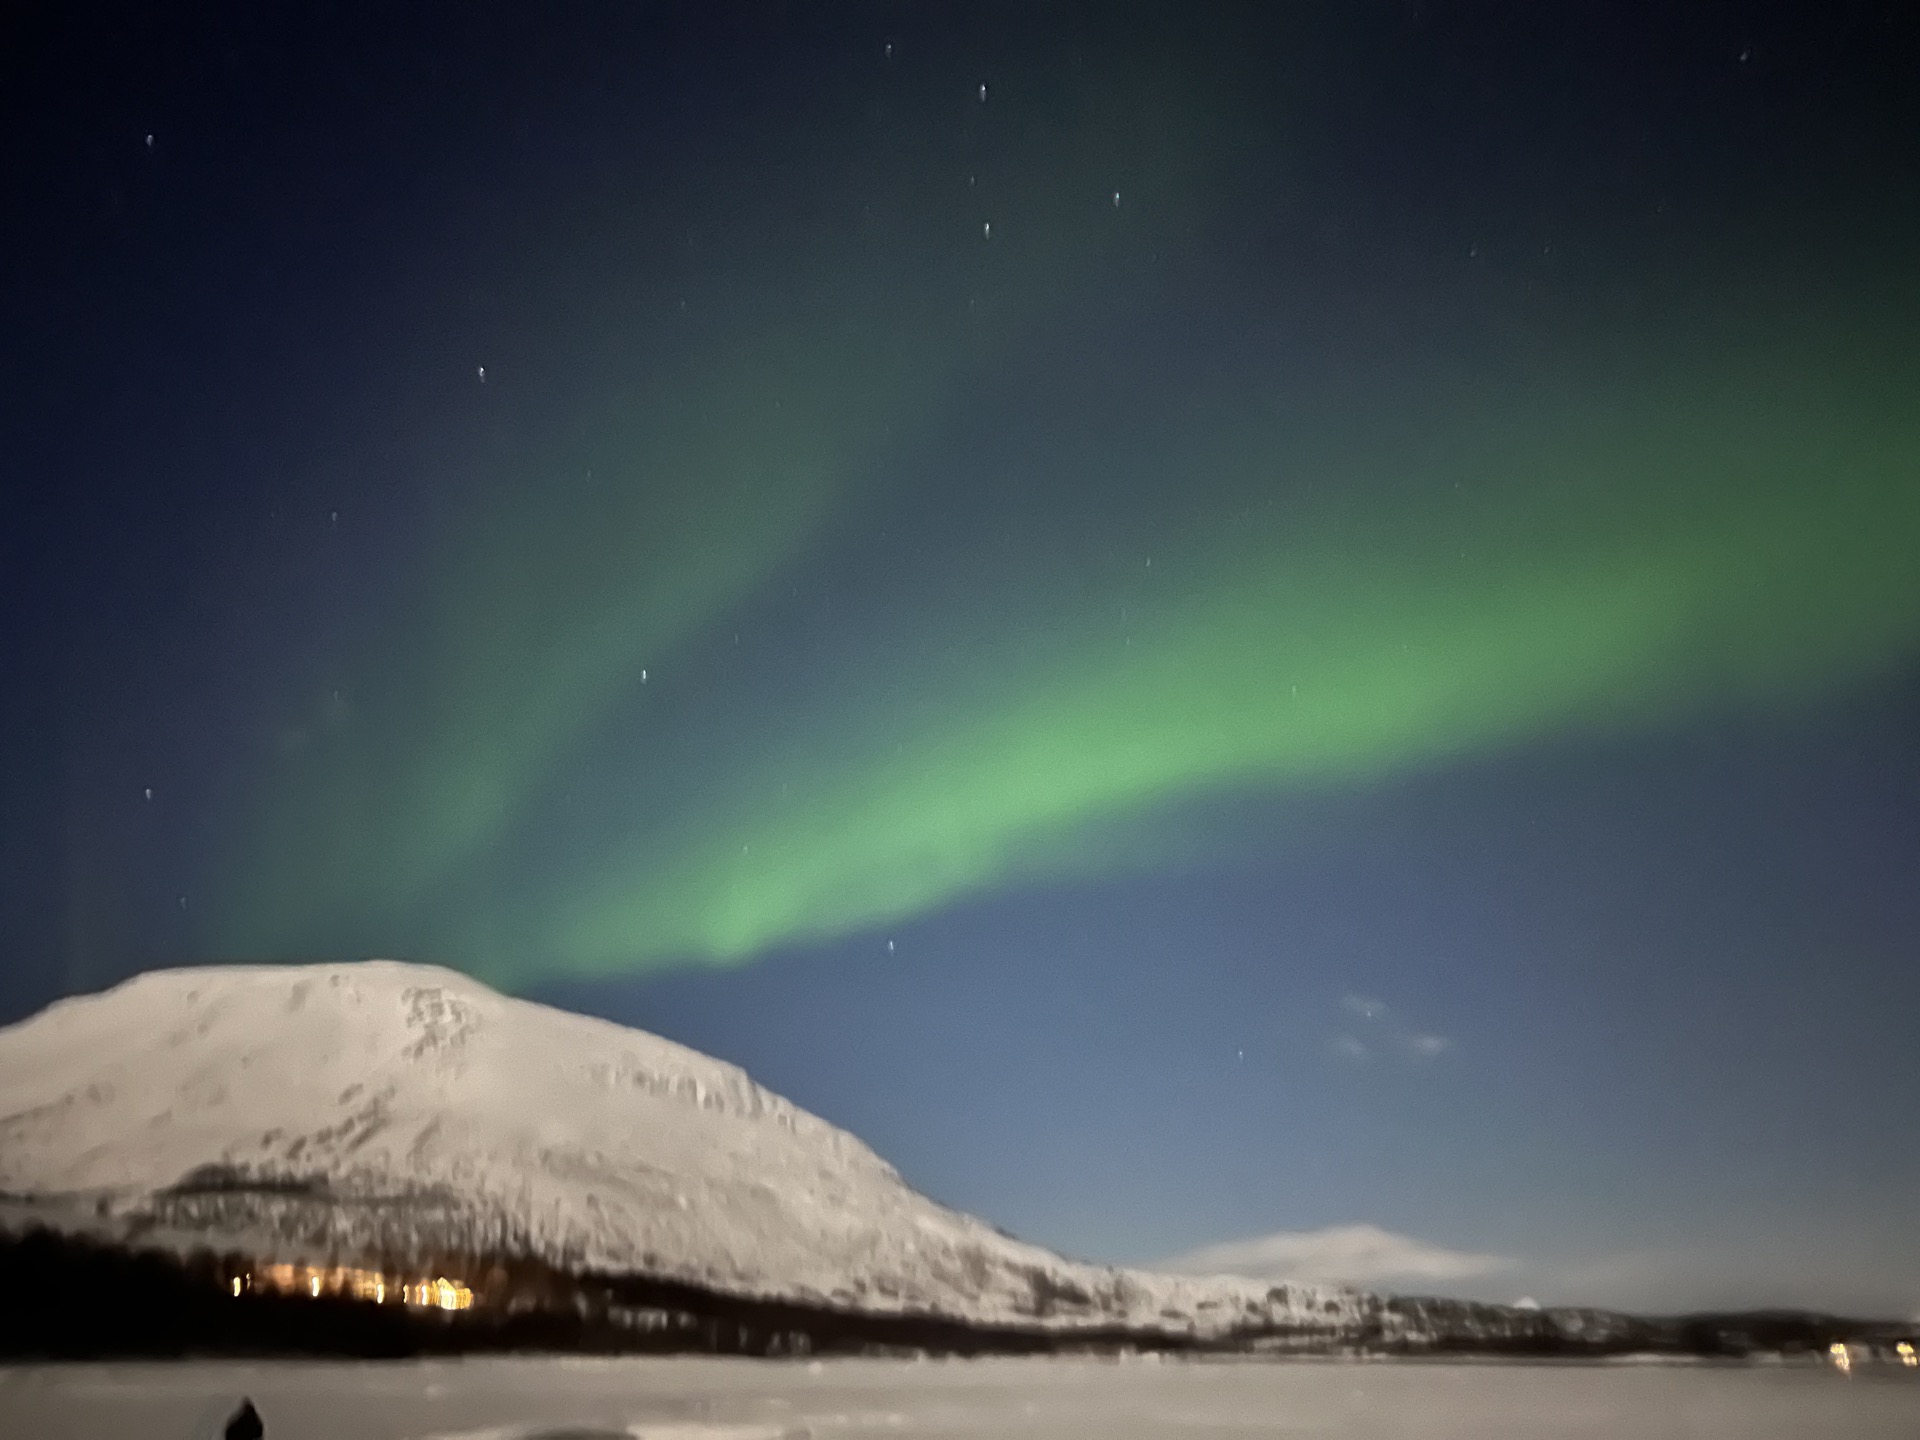
Overall, my takeaway was that the lights look much more vivid in pictures than they do in real life. In real life, they were a soft glow and not a neon streak. They moved slower than I pictured — but maybe I’d been comparing them to time lapse videos that had been sped up.
While they weren’t what a pictured — even these photos don’t feel like the true experience that I had — it was still magical. Seeing them with my own eyes, watching them move in a slow but intentional dance, lit a fire in my soul.
Return to Tromsø
After 4.5 hours at our snow camp, we gathered our things and made our way back to the van. At this point, we were all very relieved by the fact that we’d only driven about an hour out of town, and it would be a relatively short ride back.
Most tours offer hotel drop-off after the excursion, which is definitely preferred. Our guide took note of everyone’s destination and dropped us off in small groups at our respective hotels and guesthouses around town. Tromsø is quite small, and most of the accommodations are pretty central, so this didn’t took that long at all.
By the next morning, I had an email in my inbox with links to all of the professional photos of a memory I would never forget.
Northern Lights Tour Tips
A Northern Lights chase from Tromsø is a great way to maximize your chances of seeing the Northern Lights. Here are a few tips for making that experience even better.
Northern Lights Tour Planning Tips
- Travel during the right season. During the winter months, between September and March, the Northern Lights are often visible more than 50% of nights. You can’t see the Northern Lights in the summer months because of the Midnight Sun.
- Book multiple, refundable tours. If you want to maximize your chances of seeing the lights, you should plan for multiple tours. Many tours on Get Your Guide offer free cancellation up to 24 hours before the tour. That means you can book tours every other night and plan to cancel the next tour(s) if you see the lights on an earlier attempt.
- Select a tour with a “Guarantee.” Some tours offer a free or discounted tour if you don’t see the lights on your first try. This is another good option if you don’t want to book multiple tours.
- Choose wisely between a chase and an experience. A Northern Lights chase is literally chasing the lights. It involves driving to a place where you have the best chance at seeing those lights. Meanwhile, a northern lights experience might be something like a boat tour or reindeer feeding at a specific location. In this case, you hope that the lights come to you. Each have pros and cons, but are very different experiences.
What to Bring
- Single waterproof backpack or tote. Pack all your things into one bag, so you don’t have a lot of things to keep track of in the dark. A waterproof (or water resistant) bag is a good option, because you will probably want to set it down in the snow.
- Headlamp. This isn’t necessary, especially if you have a phone with a flashlight, but it would be convenient, especially for bathroom stops.
- Tripod — even for just a phone. A tripod is crucial to getting clear Northern Lights photos because of the longer exposure time. Our tour included tripods, but they only attached to actual SLR/DSLR cameras. Even if you’re just taking photos with your phone, a tripod will make them much better.
- Nausea Medicine. If you’re prone to motion sickness, you should probably bring or take some Dramamine.
- Pack of tissues. There are no bathrooms, so if you have to go, it will probably be behind a tree or snow drift somewhere. Pack some tissues for emergency TP in case you need it.
- Headphones. If you’re traveling solo and you’re hot a great small talker (me — I’m talking about me), pack a pair of headphones. There’s a lot of driving, and when the guide isn’t sharing info, it’s nice to sit back and listen to some music or a podcast along the way.
Other Tips
- Get a coffee before you go. If staying up past midnight is not a regular occurrence for you, grab a coffee to give you a boost.
- Dress in warm layers. Bundle up and wear lots of layers. Specifically, wear thick wool socks, waterproof boots, wool or wicking base layers (top and bottoms), a cozy sweater layer, thick/waterproof outer layers (pants and jacket), a warm hat and waterproof gloves. If your tour includes a thermal suit, the outer pants, coat and boots are less essential. You also want to be sure you can easily take off layers while you’re in the vehicle, which will likely be toasty.
- Try not to look at your phone during the lights. Let your eyes adjust to the dark as much as possible so that you can see the Northern Lights as brightly as possible. The more you look at the bright light of your phone, even while taking photos, the harder it will be to see the lights with your naked eye.
- Arrive on time. Be sure to get to the designated meeting point on time. If you’re late, there’s a good chance they will leave without you.
- Bring your best attitude. It’s hard to put so much time and money into a trip to see something that is far from guaranteed. All you can do is hope that the weather provides you with a glimpse of the Northern Lights. But if it doesn’t, and the experience isn’t what you hoped for, try to find joy and appreciation for the rest of the trip.
Closing Thoughts
And that’s a real-life rundown of what it’s like to go on a Northern Lights tour from Tromsø. I hope this helped you better understand what this experience is like. There is a lot of driving and waiting and cold and discomfort, but there is also a lot of calm, wonder and beauty.
I’m happy we visited Tromsø and I’m thrilled with the glimpse of the Northern Lights that I got to experience. I was fortunate to see the lights on my first attempt, and was able to cancel the second tour I booked for 2 nights later. However, I know not everyone is that luck. My husband went the day after me and they didn’t see any lights at all. You just never know.
If it’s a dream of yours to see the lights with your own eyes, I really hope you have that chance. Taking a tour (or several) from Tromsø is a great way to maximize your chances. I hope that this post has helped you prepare for the experience, both practically and emotionally.