TSA PreCheck is a program offered by the TSA that allows approved individuals, flying with select airlines, to go through expedited screening at select airports in the United States. That “select” list is quite long—it is available at over 200 airports and all major and most minor airlines that fly through the United States.
If you’re enrolled in TSA PreCheck, you’ll be able to go through security faster and with less hassle. This is especially a great opportunity for families with young children. Here’s everything you need to know about TSA PreCheck!
Benefits of TSA PreCheck
TSA PreCheck grants you access to an expedited and simplified security line at most major airports in the US. Generally speaking, you can expect:
- a shorter wait at security
- to leave your 3-1-1 liquids in your bag at security
- to leave your electronics in your bag at security
- to leave your belt, light jacket, and shoes on through security
TSA PreCheck doesn’t change the rules about what you’re allowed to bring through security. Anything that is prohibited or restricted for travelers without TSA PreCheck will be prohibited or restricted for those with it. This includes the 3-1-1 rule. Travelers with TSA PreCheck are subject to the 3-1-1 liquids rule. They still have to have a liquids bag, they just don’t have to remove their liquids bag from their luggage for separate scanning.
While my experience has generally been great, I’ve been through several TSA PreCheck queues that didn’t adhere to all these particulars.
You’ll also occasionally find the TSA PreCheck queue to have a longer line than the regular TSA queue. This is rare, and I’ve only seen it when both lines were incredibly short anyways. In any case, the TSA PreCheck line will usually move faster because the security procedure is simpler.
Finally, TSA PreCheck queues don’t operate the full 24 hours most regular security queues do. If you’re a frequent flyer on a 5AM route, you might check to be sure the PreCheck queue will be open for your flight.
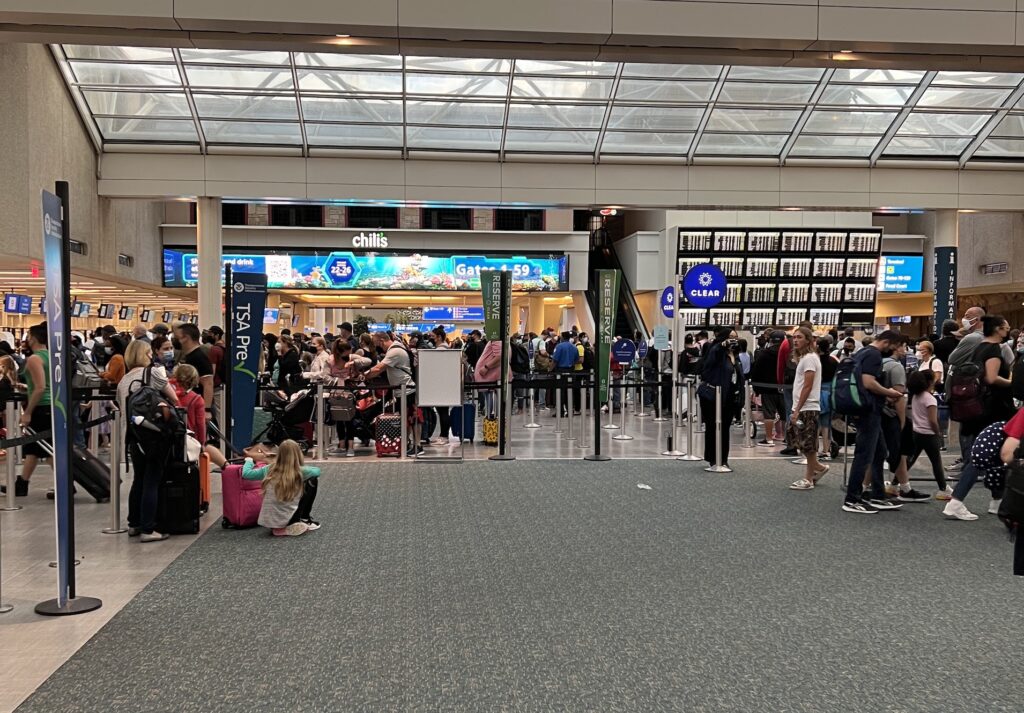
How To Use TSA PreCheck
When you’re approved for TSA PreCheck (application process is discussed more below), TSA will provide you with a Known Traveler Number (KTN). To use TSA PreCheck, you need to include your Known Traveler Number when booking your flight:
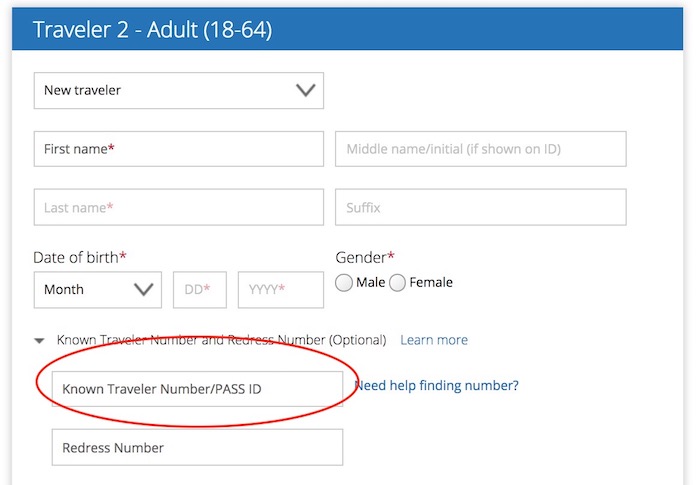
If you forget to add your KTN at booking, or if you sign up after booking a flight, you can usually add it via your airline’s website or by contacting them (I recommend Twitter for this). It may or may not be worth it to stop by a check-in desk at the airport to add it if all else fails.
If your KTN is properly added to your booking, then when you check in for your flight your boarding pass will state TSA PreCheck and/or display the PreCheck icon. Here’s an example:
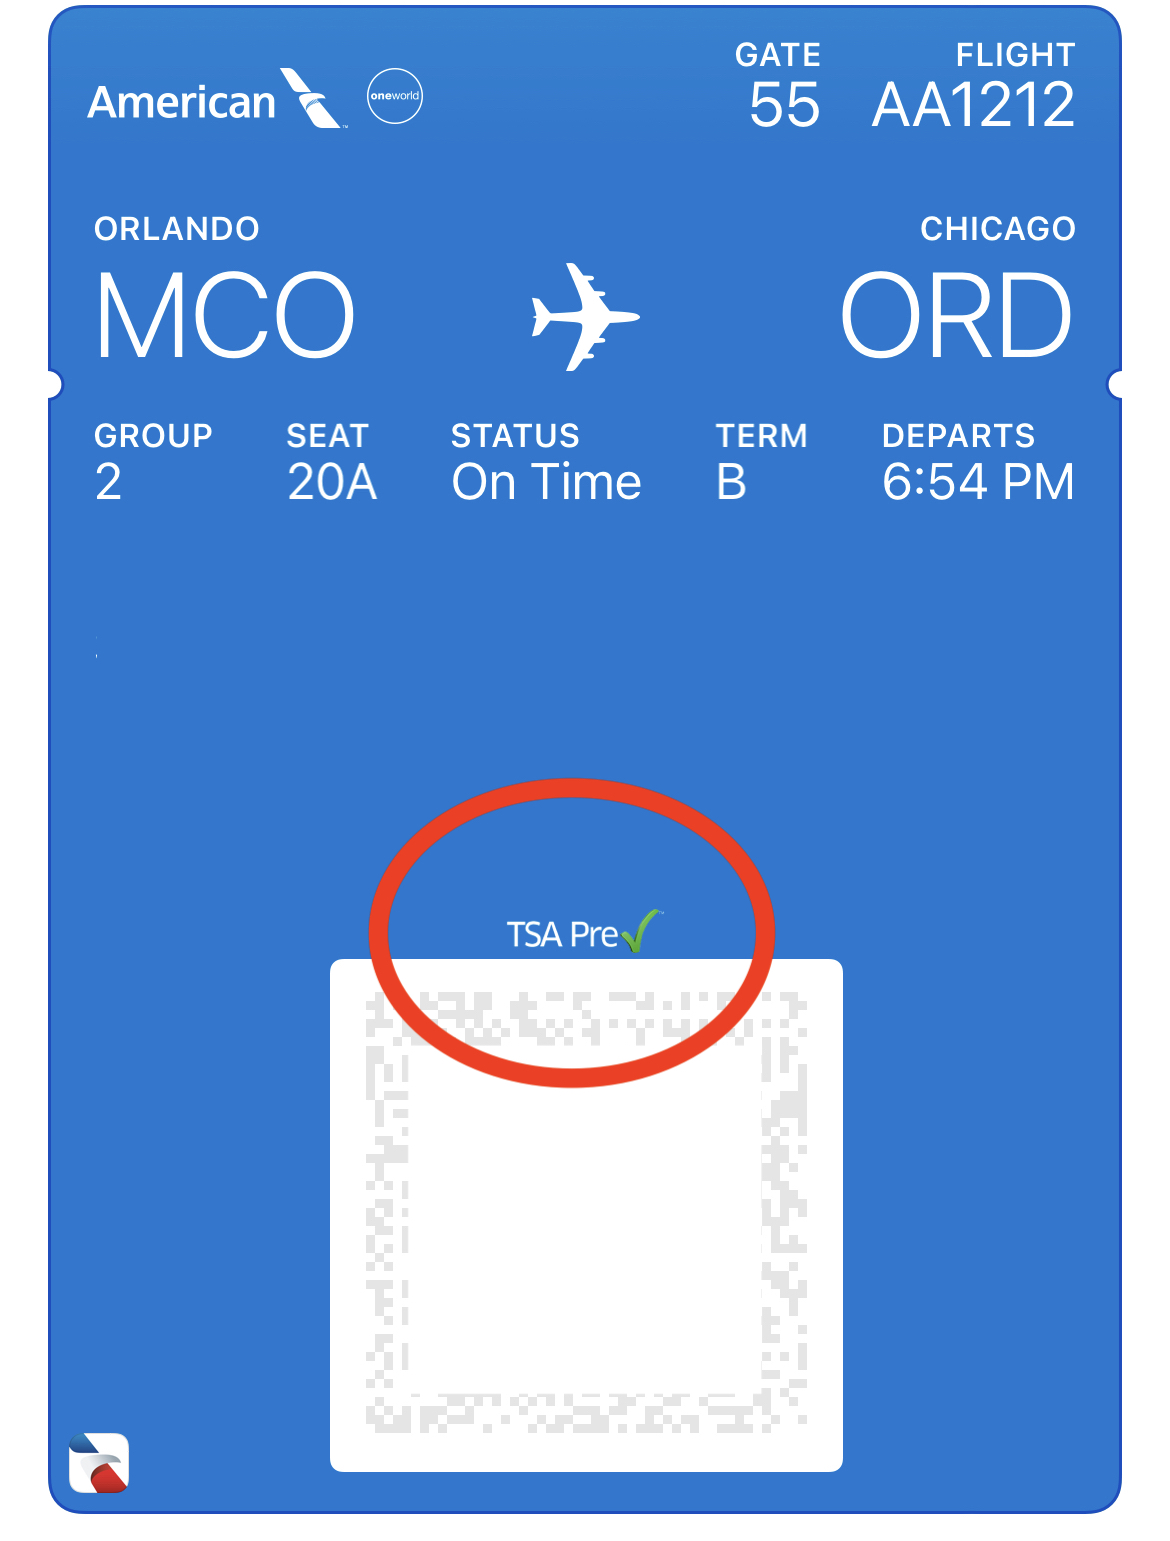
Every member of your party must have TSA PreCheck indicia on their boarding pass, including children (more on kids next). If it’s missing from someone’s boarding pass, they’ll have to go through regular security.
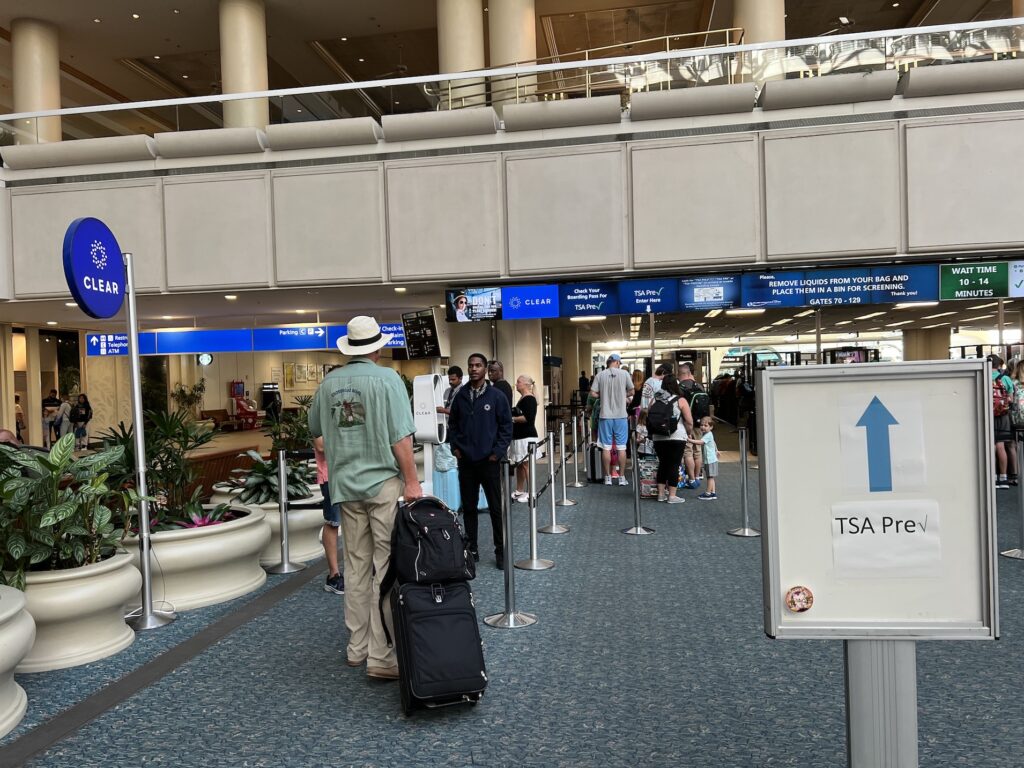
If your boarding pass indicates you have TSA PreCheck, you can follow the signs to the TSA PreCheck line at the airport. Your boarding pass will often be checked at the start of this line to make sure only eligible flyers are using it (even absent this check, those without TSA PreCheck will still be caught at the ID check if they accidentally use this line).
Notes For Family Travelers
Kids 12 and under automatically get TSA PreCheck when accompanied (on the same itinerary) by an adult flyer with TSA PreCheck. Kids 13 through 17 usually get TSA PreCheck in this circumstance, but will sometimes be randomly excluded. Kids 13 through 17 are eligible to apply for their own TSA PreCheck if families want to be sure they always have it.
TSA PreCheck is a must-have for families because it saves a lot of hassle at the airport. While a solo traveler might efficiently remove liquids, electronics, belt, shoes, and jackets, it’s a bit tougher once you’ve got a little one in tow. That’s not even accounting for the fact that no one wants to wait in a long security line with a small child.
Combining TSA PreCheck And CLEAR Plus
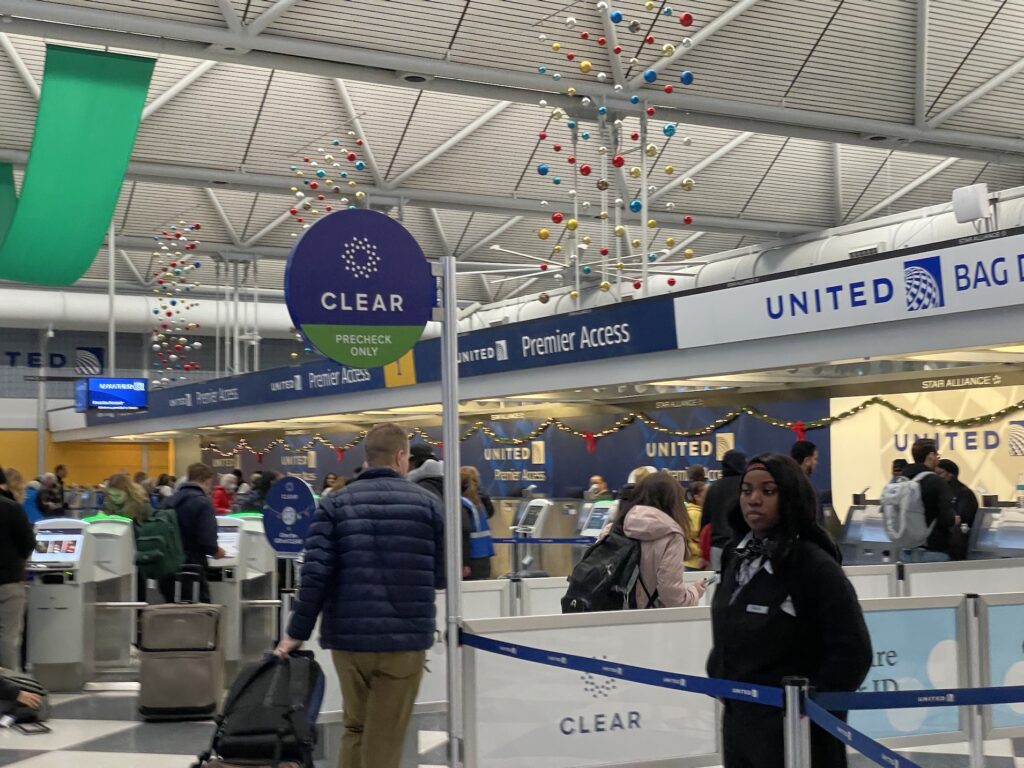
CLEAR Plus is a third-party (i.e. not TSA) identity verification program available at select airports. Basically, it replaces the person right before security who checks your ID. While you’ll still need the proper identity documents with you (including REAL ID or Passport), you won’t need to show them unless you’re randomly selected for an extra verification. The main benefit to this service is that it basically allows you to skip to the front of the security line.
Combining TSA PreCheck with CLEAR means you’ll basically have no hassle and spend no more than a few minutes getting through security (unless your bag gets pulled, which can add time).
Signing Up
Let’s move on to how you can sign up for TSA PreCheck.
Who can get TSA PreCheck?
U.S. citizens, U.S. nationals and lawful permanent residents can apply for TSA PreCheck. There are several reasons an application might be denied, including things like certain criminal offenses. As noted above, children 12 and under usually don’t need their own PreCheck. It can make sense, though, for children 13 to 17 to sign up.
How can I get TSA PreCheck?
There are two ways to get TSA PreCheck. The first is to apply directly through TSA. This process costs $78 and includes a short online application, followed by a short in-person interview with fingerprinting. If you’re approved, you’ll get your Known Traveler Number. You’ll need to renew every five years.
The second way to get TSA PreCheck is to apply for some other Trusted Traveler program that includes it. These include Global Entry, Nexus, and Sentri. Global Entry, which costs $100, is usually the best option if you take this route. You must renew Global Entry benefits every five years.
Saving on the TSA PreCheck Fee
More and more credit cards include credits for TSA PreCheck or the Trusted Traveler Programs. Our favorite such card is the Chase Sapphire Reserve. If multiple members of your family want to apply for the program, you might want to pay for different applications with different credit cards that have these credits.
