Tried and true toddler travel tips … try saying that three times fast? It’s about as easy as traveling with a toddler. It’s an accurate title though, because that’s exactly what we’re going to cover in this post.
These tips span a wide range of topics, from packing to sleeping and more. They’re also mostly small or specific changes that can make a big difference to reduce stress and increase enjoyment. What they all have in common though is that they’re things we’ve learned from traveling with a toddler over the course of three years, through 10 countries, 50+ flights, and 100+ hotel stays. (And none of them are about packing snacks, because I know you know that.)
It goes without saying that all kids and parents are different. These are things that have worked well for us, and I hope that some (or maybe even all) of them will be useful to you, too. I hope these little nuggets will help you travel a little more comfortably and confidently with your own tiny adventurer.

1. Start your packing list early, and add to it regularly.
The first thing I do after we book a trip is start a note on my phone called “[Destination] Packing List.” Anytime I randomly think of something that could be useful on that trip, I immediately add it to the list.
The most important part of this tip is making sure the list is somewhere easily and regularly accessible. I use my phone, because that’s always on me. If you’re a paper-notes person, make sure that you keep that notepad with you at all times. Inspiration can strike at any moment, and the point is that you can write down the thought immediately after it comes to you.
This list always ends up including random, but super helpful things that I would have likely forgotten. In my experience, that has been things like a Festivus shirt for a holiday trip, sunglasses for a snowy vacation, and Zip Lock bags for Holi in Udaipur.
When it’s time to pack (or write up your full packing list, which is a separate activity for people like me), you have a good baseline of things you might have otherwise forgotten.
With kids, you always want to be a step ahead. When they ask for the specific paw patrol cup at bedtime or their shirt to match Grandma, you want to have it. This method helps ensure you remember to bring all of those little things, without the stress of having to remember it all in the moment when you’re packing the day before your trip.
2. Store travel essentials in your suitcase.
I know Marie Kondo tells us to unpack as soon as we get home from a trip. For the most part I do, but there are a few things I leave inside my suitcase at all times.
Specifically, I leave the core to our toddler’s travel sleep setup in the suitcase. This includes the portable white noise machine, travel case for the Nanit, blackout travel curtain, inflatable bedrails and a color-changing travel nightlight. (PS this nightlight is my favorite hack for Hatch light users. You can read about how we use it in tip #9 of our 10 Things to Know About Hotel Stays with Toddlers post.)
I may not take all of these things with me on every trip, but I’m at least sure I won’t ever forget them. If I don’t need something for a specific trip (for example, I rarely bring the curtain), I leave it in the space where my suitcase belongs. When I return home, I’m reminded to pack it back inside when I put the suitcase away.
This is just another way to help reduce packing stress by ensuring that you have the essentials covered without having to think about them.
2.5. Order duplicates of frequently used travel items.
Another thing we started keeping in our suitcase at all times was a pre-packed electronics kit and medicine kit. You can do this with any set of items that you always bring on every trip. That way, you have all of these items already put together and packed, and don’t have to add them to your list every time or grab anything at the last minute.
For example, our electronics kit includes cords for charging our phones, watches, computers and tablets. It also includes portable chargers, international outlet converters, and various other dongles and multi-USB ports. This one was very expensive to create, but we travel enough that it was worth it to always have all the cords and chargers we need without any extra thought or packing.
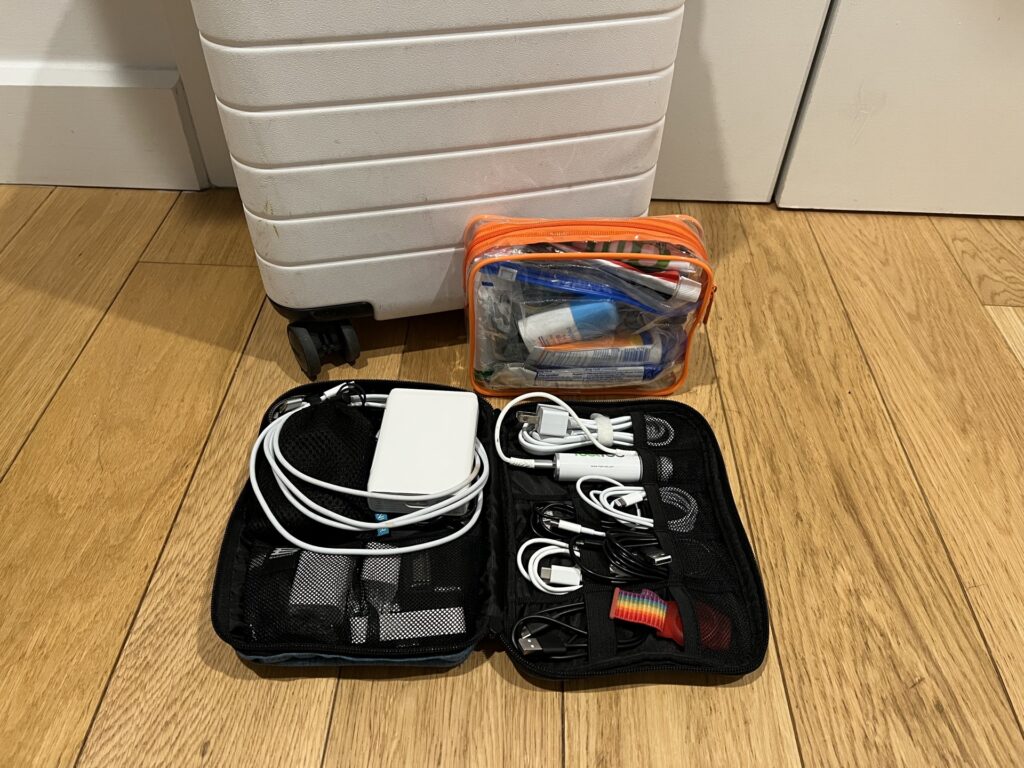
A cheaper thing to duplicate is a medicine kit. This one includes things like children’s Tylenol, sunscreen, Pepto Bismol, Tums, Advil, toothpaste, bandaids, etc. We keep this one in a clear TSA-approved bag and make sure all liquids are under 3 ounces. My husband uses this as his liquids bag, so it has a handful of his other toiletries read-to-go as well.
The most important thing about doing something like this is making sure you keep it stocked. If you run out of something or lose something, you have to be sure you replace it immediately so it’s ready for your next trip. Otherwise, it kind of defeats the purpose.
3. Live out of your amenity kit for 2 weeks before your trip.
This is the one thing that helped alleviate the most packing stress for me. A few weeks before your trip, pack your amenity kit for you and your kid. It should include everything you and your child need to get ready for the day and for bed.
Then use only what is in that amenity kit until your trip starts. (I keep it handy in the top drawer of my bathroom vanity.) Over the next few weeks, anytime you need something that is not already in that amenity kit, add it! This helps you identify the things you use and need, but might forget to pack. In my experience, I have found myself adding things like nail clippers, detangle spray, floss sticks and Vaseline.

The one exception to this rule is liquids. For any liquids you need, add a travel-size amount to your bag. (I usually fill up small spray bottles with liquids and use contact lens cases for things like lotions or toothpaste.) Once you have packed the liquid item, you can then use the full-size version at home. Similarly, I also usually have different toothbrushes packed than the ones I use regularly.
I use this hanging toiletries bag for this exercise, and it works perfectly. You can either keep it hung up in your bathroom, or it lays flat nicely in a drawer. When it’s time to travel, zip the whole thing together and you’re off. If you don’t have TSA PreCheck, the liquids portion unzips so you can remove it for security.
4. Pack a travel bottle of dish soap.
While you’re packing that amenity kit, fill up a travel bottle with dish soap and throw it in. (I like to use these.) I generally advocate for packing light, and this does feel a little superfluous. However, this small addition has brought big convenience (and cleanliness.)
We usually travel with at least one kid’s one drink cup, a snack container (or five), and many times a bento box with a meal for the plane. When our child was younger, they always drank a cup of milk at bedtime. We’d fill up our snack cups with leftovers from a meal and carry them around for a quick bite later one.

While we got an ‘A’ in being eco friendly, we got an ‘F’ in sanitation. We kept finding ourselves washing these dishes with hand soap in hotel sinks and always ended up with milk cups that smelled rancid after just a few days. Bringing a small amount if dish soap to solve this problem seemed like such an obviously good idea that took us way too long to think of.
If you travel with any reusable food/drink storage items, you need to be doing this.
5. Download entertainment to your device the day before your trip.
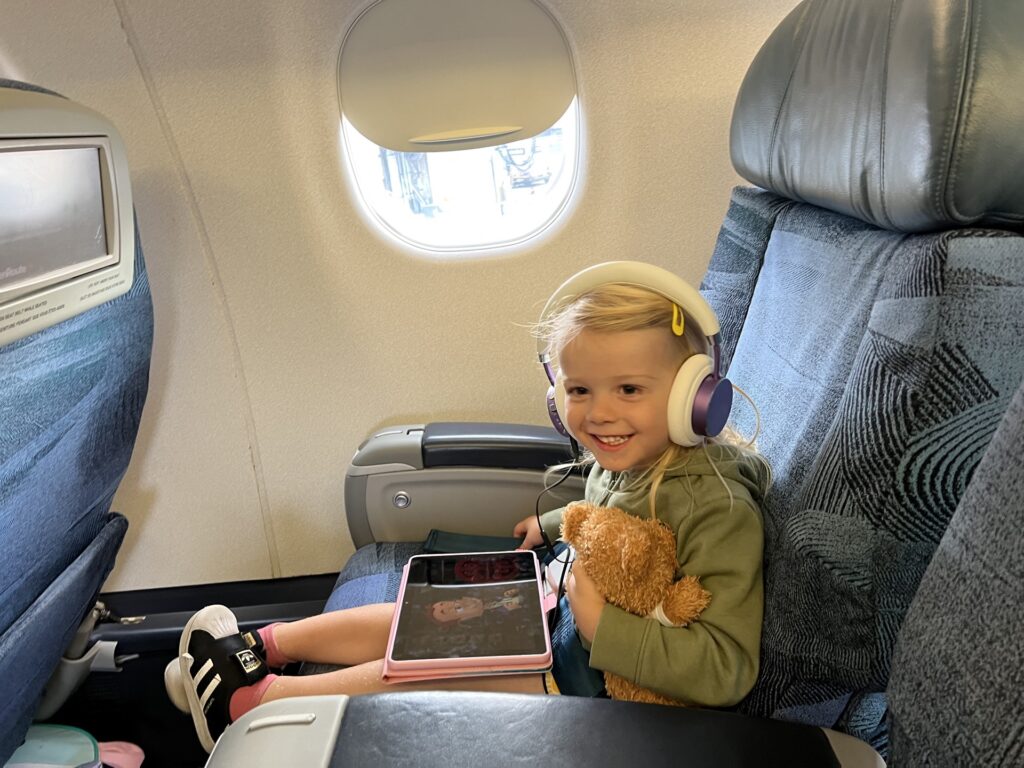
The timing is the most import part of this tip. If you are planning to use tablets or phones for any sort of entertainment, download and test the content the day before your trip. Planning too far in advance on this one can actually make you worse off.
On a past flight, I was sitting next to a family who was flying for the first time with their young kids. After the plane took off, they pulled out their tablet only to find that all their kids’ shows had expired. I overheard them saying how they thought they were on top of everything when they downloaded the shows two weeks ago. They didn’t realize that shows downloaded on streaming apps can expire in as little as 7 days.
It’s a good idea to start downloading content to your device the day before your trip. Make sure to leave yourself enough time, because this can sometimes take awhile. The night before you leave, test your apps and downloads by turning on airplane mode and making sure everything works.
6. Plan half days.
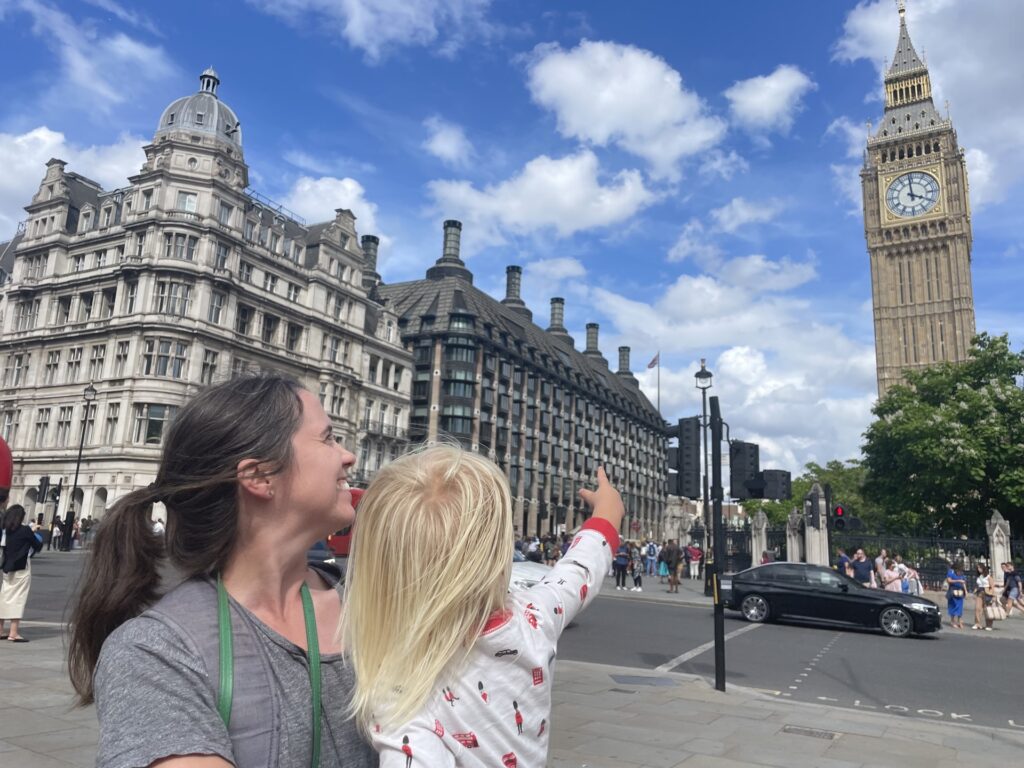
One of the hardest adjustments I had to make as a gotta-see-it-all traveler after having kids was learning how to “see it all” at a kid-friendly pace. Our first international trip with a toddler was to London, and I quickly learned that the solution was planning activities in 4-hour blocks with a break at the hotel in the middle.
This strategy was actually helpful in more ways than one. Of course our toddler got to nap in a bed instead of the carrier, and we (the parents) got to relax a bit, too. But as it turns out, this was also a great way to cover more ground on a trip. I felt inspired to explore two different areas or neighborhoods each day, instead keeping my day’s activities close together.
This adjustment is most obviously important for toddlers who are still napping midday, but it is also good practice for bigger kids, too. Travel can be exhausting, and it can be good for everyone to take some time to relax and recharge midday to prevent burnout.
7. Check your carseat at the last possible minute.
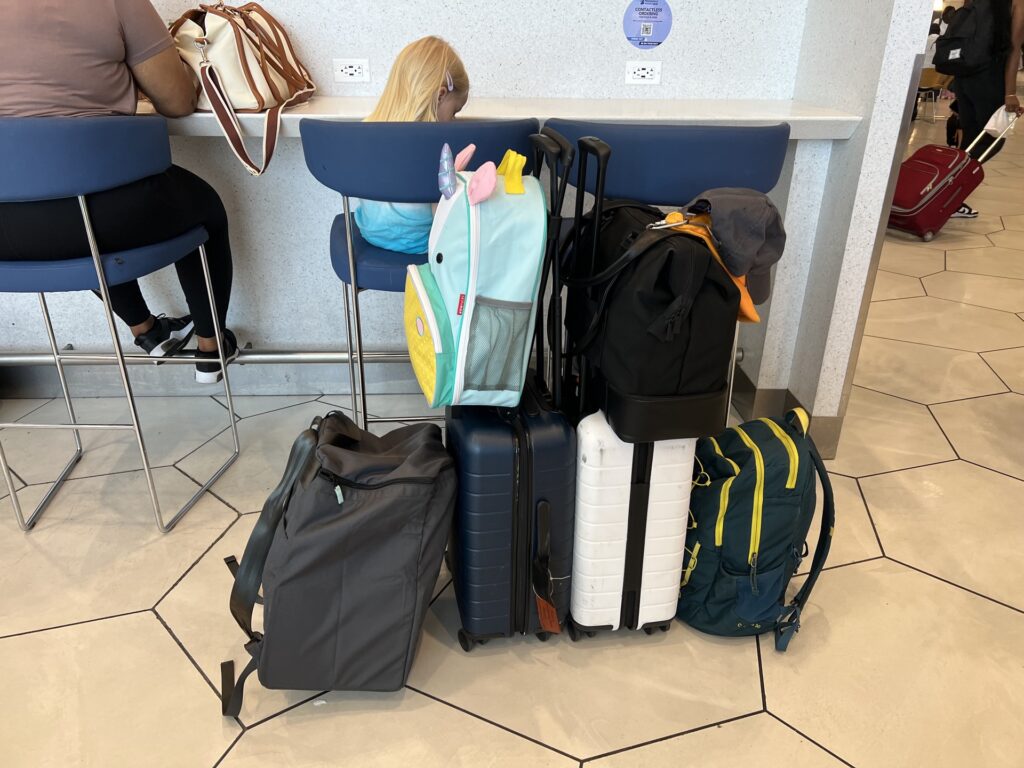
If you have a child and any amount of car travel, a car seat is not something you can do without or easily replace if something were to happen to it. For that reason, it is of the utmost importance that it safely makes the journey with you.
Ideally, you want to check the car seat at the gate as you are boarding the plane. However, some airlines will ask that you check your car seat at the counter before boarding so they can start loading those items up quicker. In this case, it’s even more more important to wait as long as possible to drop that off.
Here’s why. On a previous trip, the gate agent asked passengers to check bags and car seats shortly before we began boarding. At the last second, our flight got delayed for four hours for a technical reason. Everyone rushed to get on another flight to the same destination, which was boarding in just a few minutes.
We got on that flight, but the family behind us didn’t. They had checked their car seat on the original plane and couldn’t retrieve it in time to make the other flight. Sure, this is a very specific situation, but things like this can happen anytime. To avoid any risks with flight changes, keep that car seat in your possession as long as possible.
8. Read books about your destination.
This is another one that started out unintentional. We have a large collection of Little Golden Books, including “it’s a small world,” which is based on the Walt Disney World attraction by the same name. It starts in England, with a cartoonish picture of Big Ben and Tower Bridge.
When we got to London for the first time, our not-quite-2-year-old spotted Big Ben from across the Thames and was thrilled. They kept saying “ba,” which among other things, was the sound they made for Big Ben when we read that book. When we got back to our hotel room, they got out the book and happily pointed to Big Ben. We returned to Big Ben three times that trip, and they got excited every time.
Once we knew that books could get our child excited about travel, we leaned in. We order a few different books about India, and read them nightly leading up to a three-week trip there. It worked! At 2.5, our kid recognized the Red Fort in Delhi, told anyone who would listen that they were going to the Taj Mahal, and knew what Holi was when we got to Udaipur to celebrate it.
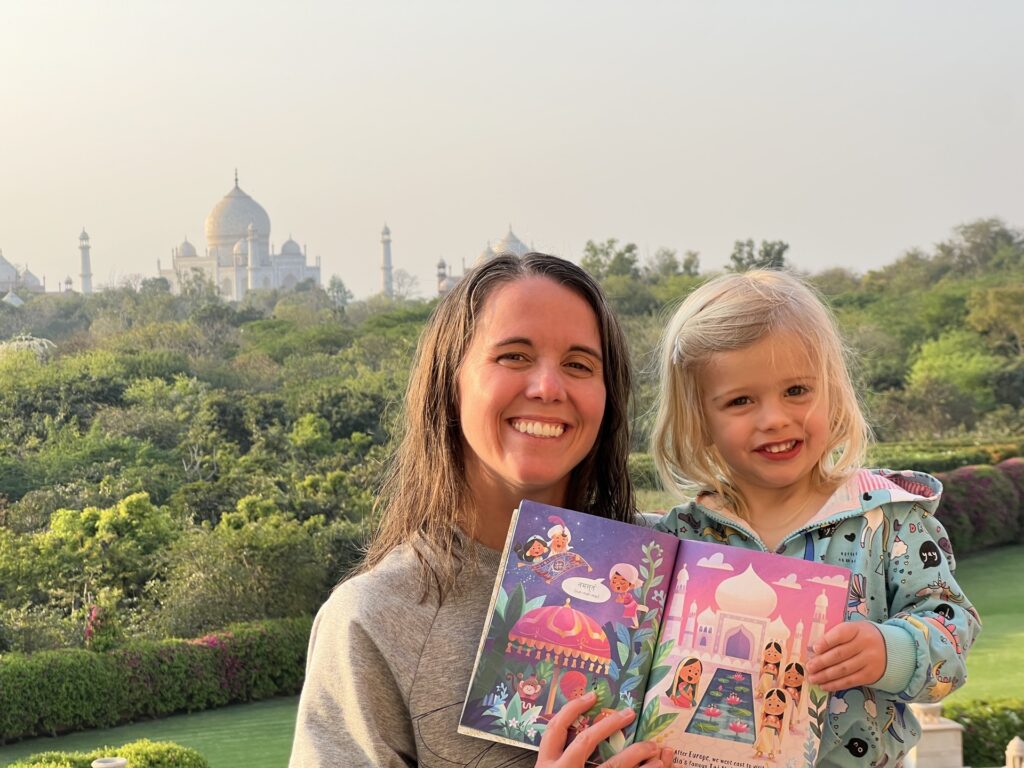
Getting your kid excited about a specific destination is not only adorable, but it can also improve their attitude and energy level throughout the trip. That can make the less-fun parts of travel (like long lines or travel delays) a bit more tolerable. Something as simple as reading a few books can go a long way in building up that excitement.
We really like the Tiny Traveler books, which are available for a handful of countries. The Good Night Our World books are also good, but not quite as informative. If we can find any relevant Little Golden Books, we always buy those, too. As our child gets older, we’d like to introduce books with basic language skills, too. We’re looking at Tokyo soon, so I’d like to get something like My First Book of Japanese Words. (But if anyone has recommendations for toddler language books, please let me know in the comments!)
9. Invest in the right travel gear.
If you ask me, figuring what to buy and what not to buy accounts for about 90% of the stress of traveling with a kid. In some cases, buying specific items and gear for travel makes a world of difference, but sometimes it just feels expensive, unnecessarily and more stressful.
I’ve bought and tried a lot of travel things over the past three years. Here’s a few travel items that we think are worth the investment, plus a few that are not.
Travel items that are worth spending money on:
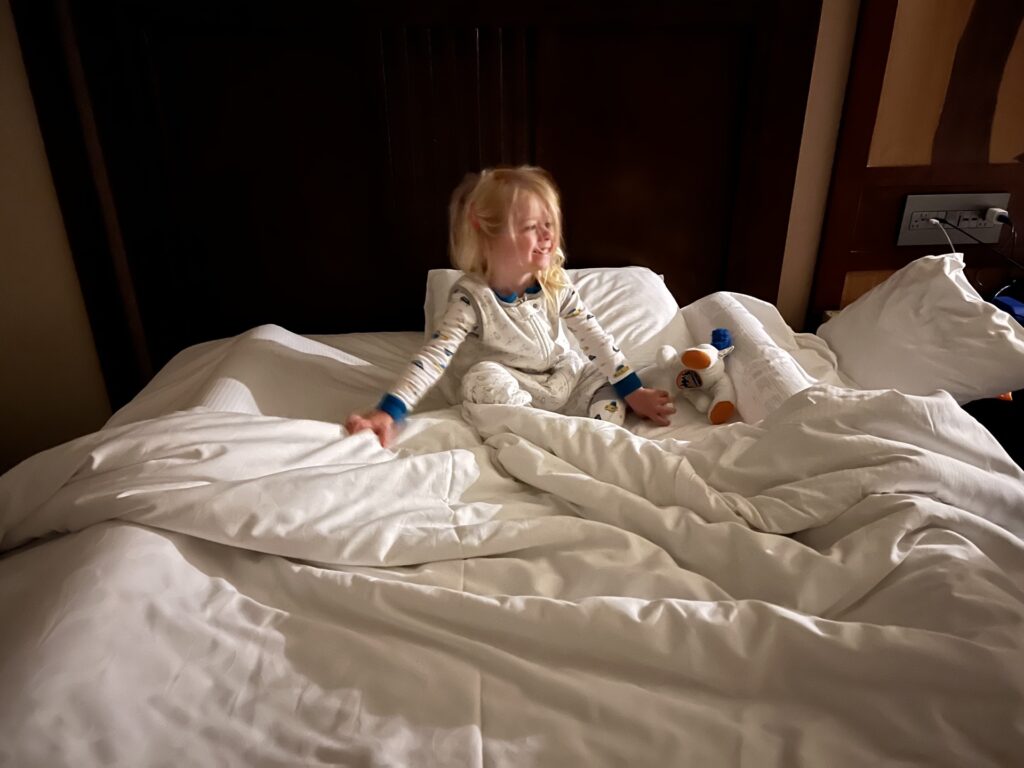
- Inflatable Bed Rails. These puppies are essential for children who are too big for a Pack ‘n Play but too small to safely sleep in a regular hotel bed on their own. Sure, pool noodles work too, but these take up much less room in your suitcase. It’s just so nice to know your toddler can safely sleep in pretty much any bed with these, and you don’t have to rely on a hotel to provide anything.
- Pico Travel Car Seat. This one is expensive, but if you travel with a car seat frequently it is definitely worth it in our opinion. It is lightweight and fits in a backpack (which fits in most overhead bins, so you don’t have to check it), plus it installs in any car in just a few seconds. (We review the Pico Portable Car Seat in depth here.)
- Toddler Suitcase. Our kid is 3 and can pull their own suitcase for an entire travel day. Getting them to that point took practice and the right bag. Make sure to get a child-size roller bag that is small enough for them to pull and isn’t too heavy. While they’re in the learning phase, consider one that has backpack straps (like this) or a trolley sleeve, so you can easily take over their bag when they get tired of it.
- LDC Drawing tablet. These little tablets are amazing for flights. Kids can draw without crayons falling between the seats or markers getting all over the tray table. Plus, they’re pretty cheap. We use these on flights, but also love bringing them to restaurants.
- Tablet. Say what you will about kids and screens, but for us, a tablet is essential for flights. We only use the tablet on planes or long trains. Since they’re excited about it, it will usually keep them busy for an entire travel day. We have an Amazon Fire and load it up with downloaded shows on our streaming apps.

Travel purchases to skip:
- Suitcases with kid seats. If you travel even semi-frequently, we would recommend avoiding these. It ends up being more work for the adult, plus they usually aren’t an efficient use of a carry-on or personal item. Instead, get your child a suitcase of their own. It’s good practice and gives them a sense of responsibly that they will actually be excited about. They’ll be pulling their own suitcase quicker than you think!
- Kids airplane beds. These are devices (often inflatable or built into a small suitcase) that convert economy seats into small beds for kids. Different airlines have different rules about using them, which is stressful. They are also only useful for a short time — often children have to be 2+ and by then it’s hardly big enough. These can be great in very specific scenarios, but in general we think they are worth skipping. We bought one, but have never had the chance to successfully use it.
- Airplane seatbelt harness. It’s pretty wild that a child under 2 has to be secured in a car seat if they’re in their own seat and a child over 2 can just use a regular seatbelt. We panicked about that and bought a very secure FAA-approved children’s seatbelt harness … which we have never used, not once. The FAA says that kids can use the regular seatbelts, so that is what we do.
- Child-specific tablets. We are pro-tablet, but we don’t think the child-specific tablets are necessary for one reason: the gigantic case! If you’re getting your child a tablet for travel, we suggest getting a slim case with a built-in stand (like this). It takes up much less room in their suitcase and still has the necessary child settings available.
10. Invest in TSA PreCheck and CLEAR Plus
We highly recommend investing in one or both of these membership programs to expedite the airport security experience. These programs can be incredibly helpful for parents traveling with children.
Both of these programs require paid memberships, but children (of certain ages) can enjoy the same perks for free when they travel with an adult member. (Read our below linked posts for all the details on that.) If you travel even semi-regularly with kids, we think they are absolutely worth it. If you have to choose one or the other, get TSA PreCheck. You’ll get more out of it, and it’s way cheaper than CLEAR Plus.

TSA PreCheck is a government-run membership program that streamlines the security process. Signing up for the program requires time (up to 60 days or more), effort (an in-person interview) and money (prices vary, but typically around $70-$85 for 5 years). However, members can then enjoy perks like shorter security waits, leave on their shoes and light jackets, and leave liquids and laptops inside their bags during the security screen.
CLEAR Plus is a separate, third-party membership program that streamlines the ID check process. Members can skip the queue and then use biometrics (eyes or fingerprint) as their ID. Then, they can jump right to the front of the security check lane, using either the standard lanes or the TSA PreCheck lanes.
When combined, these two programs can get you and your kids through security in 5 minutes or less, almost every time. Plus, you don’t have to worry about juggling your entire family’s worth of shoes, tablets and liquids. This reduced friction can make all the difference between a good travel day and a bad travel day.
BONUS: Practice a travel-friendly lifestyle.
The 10 tips above can all be implemented and/or purchased shortly before you actually take a trip. However, some of the things that have made traveling with a toddler the easiest have come from lifestyle decisions that we practice daily.
If you’re traveling next month, this last tip might not be helpful immediately. But if you’re just beginning your travels and know it will continue to be a part of your life in the years to come, this might be helpful.
Here a few lifestyle choices that made travel with a toddler substantially easier.
- Sleeping in a Pack ‘n Play at home. Before our toddler graduated to their bid-kid bed, they slept in a Pack ‘n Play at home, instead of a traditional crib. We added a toddler-safe mattress for some extra comfort, but that was their regular bed. We did this because we knew most hotels (or at least the ones we frequented) provided Pack ‘n Plays. This made bedtime a breeze, because our toddler felt like they were sleeping in the same bed no matter where we were.
- Establishing a portable bedtime routine. Along the same lines, we intentionally created a bedtime routine that was simple and portable. A small stuffy, single storybook, and portable nightlight are all decisions we made that make bedtime easy anywhere. (You can read about our travel bedtime routine here.)
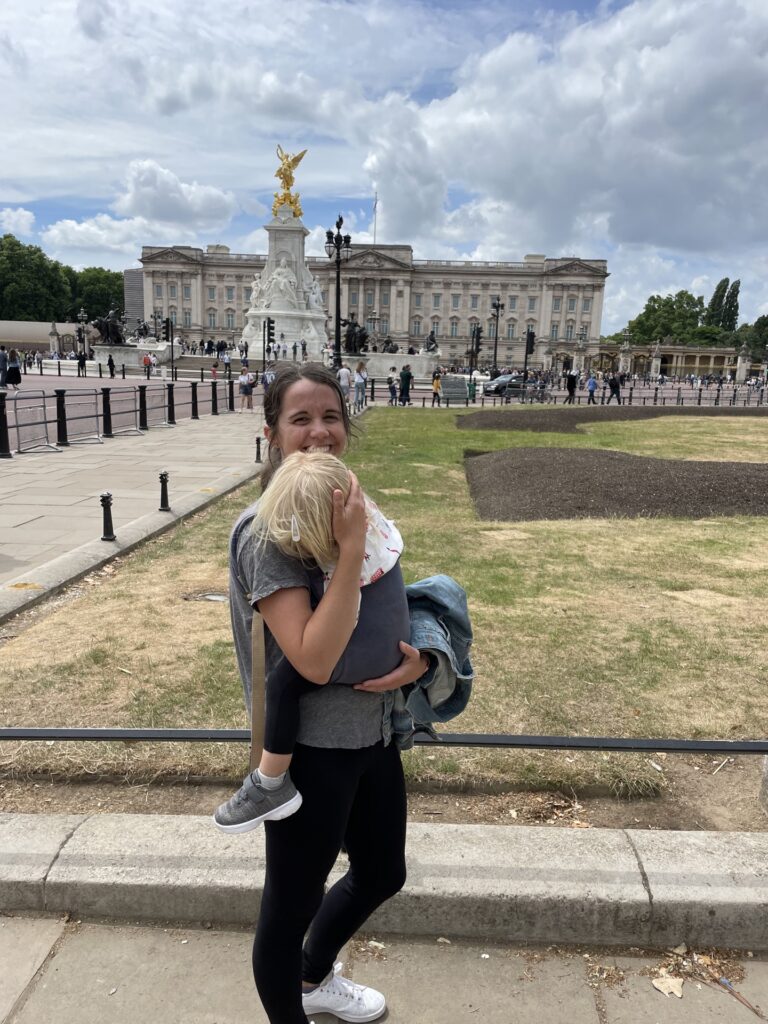
- Riding and sleeping in a baby carrier. Our child was in a baby carrier literally from the moment they left the hospital. Since we’ve never owned a stroller, they quickly got used to getting around and sleeping in a baby carrier. This made travel a breeze because we could pretty much go anywhere and do anything and our kid could engage and/or sleep on demand. (We review our favorite baby carriers by age in this post.)
- Walking a lot. After our toddler graduated from the baby carrier, they went straight to their feet. We live in Queens, New York so we walk a lot. From a very early age, they could walk just about anywhere we do. Watching them explore new places on their on their own two feet has been amazing to watch, but it’s also makes things incredibly convenient for us parents.
More about Traveling with Kids
Traveling with kids looks different for everyone. Kids can learn and enjoy travel whether it’s across town or across the world. Here are some posts we’ve written about traveling with kids to specific destinations.
- Amsterdam with Kids — Planning Guide, Things To Do & Sample Itinerary
- Things to do in London with Kids — Family Travel Guide + Tips
- A Parent’s Guide to Traveling to India with Kids
- Paris with Kids — Planning Guide, Things To Do & Tips
- 10 Things to do at a Mets Game with Kids
- Yankees Game With Kids: 10 Things to Know Before You Go
- Ice Skating At Rockefeller Center with a Toddler
- Celebrating Holi in Udaipur (With a Kid)
We also have a few more tips and guide posts that cover different parts of travel.
- 10 Things to Know About Hotel Stays with Toddlers
- Flying with a baby by airline (including Spirit Airlines, United Airlines, Delta, and JetBlue)
- Review of Kidmoto (Driver With Car Seat) Service
- Ultimate Guide to Baby Wearing for Travel
- Pico Portable Car Seat Review & Use Case [Is it worth it?]
